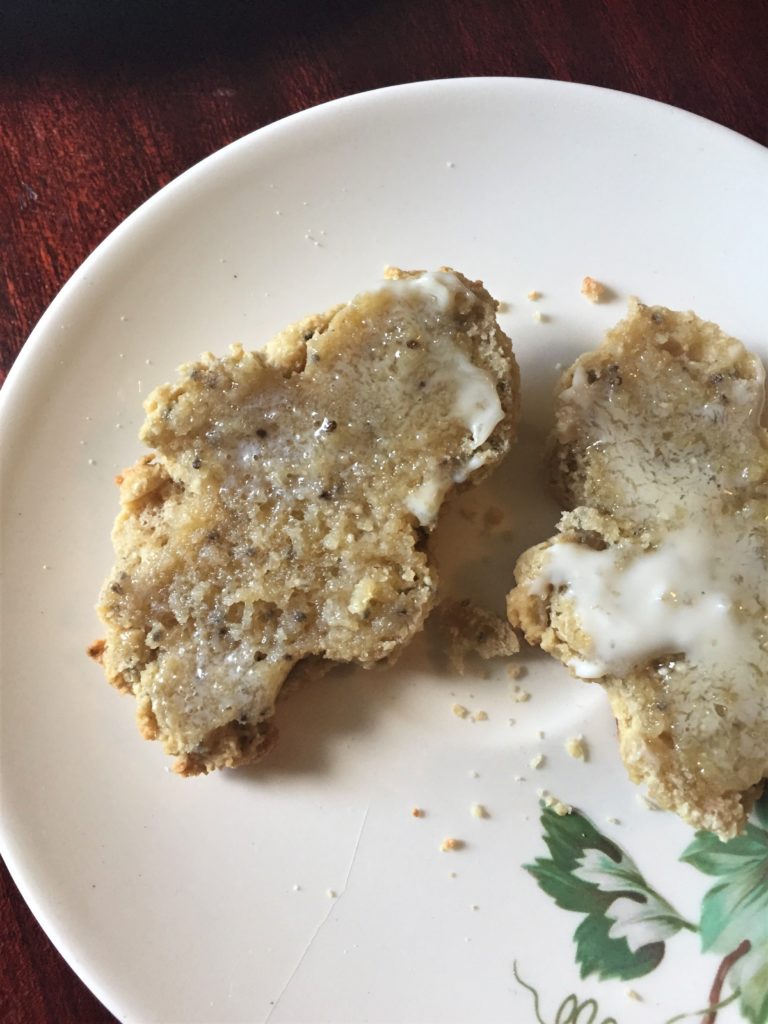
These gluten-free dairy-free English muffins are honestly better than most regular store-bought English muffins. That’s a bold claim, I know. But I’m serious. I tolerate gluten and dairy just fine but I eat these most of the time anyway.
These aren’t too hard to make. You start cooking them on the stove-top and finish them in the oven. You don’t even need ring molds for these. I don’t own ring molds. Obviously you can use them if you have them, but I have a little hack for you. You can just use metal cookie cutters! Honestly, this batter turns out thick enough you probably don’t even need to use a cookie-cutter or ring mold, but I always do.
This recipe calls for both yeast and baking powder to get those traditional nooks and crannies. A note about yeast… In the third step, you proof the yeast with soymilk and honey. If you let your yeast mixture sit and it’s still not foamy after 20 minutes, your yeast is dead. Rest in peace, try again. One of two things probably happened, either your yeast is too old or you added it to the soy milk while it was too hot and killed it. If you know the milk wasn’t too hot, you need to go buy new yeast.
You need your egg to be at room temperature for this recipe. But that takes like an hour, I don’t have time for that, plus I’m not a very good planner. If you’re bad at planning ahead like me, here’s how to get that egg not cold fast: get a small cup and put your egg in it. Fill your cup with warm water (not hot! don’t cook that egg). Let it sit for about 10 minutes and bam, your egg isn’t cold anymore!
These gluten-free dairy-free English muffins are great with plant butter and/or your favorite jam. Or you could make tiny sandwiches, maybe with ham and eggs. These are also great served alongside dinner in place of dinner rolls. For example, a Sunday pot roast: https://www.mapletaffyandlousytomatoes.com/recipes/sunday-pot-roast/
Gluten-Free Dairy-Free English Muffins
Ingredients
Instructions
-
Measure out soymilk and add the tablespoon of honey.
-
Warm in the microwave, about 25 seconds. You don't want it too hot, you should be able to comfortably put your finger in it (be careful, don't burn yourself). If it's too hot just let it sit for a few minutes until it cools off a little.
-
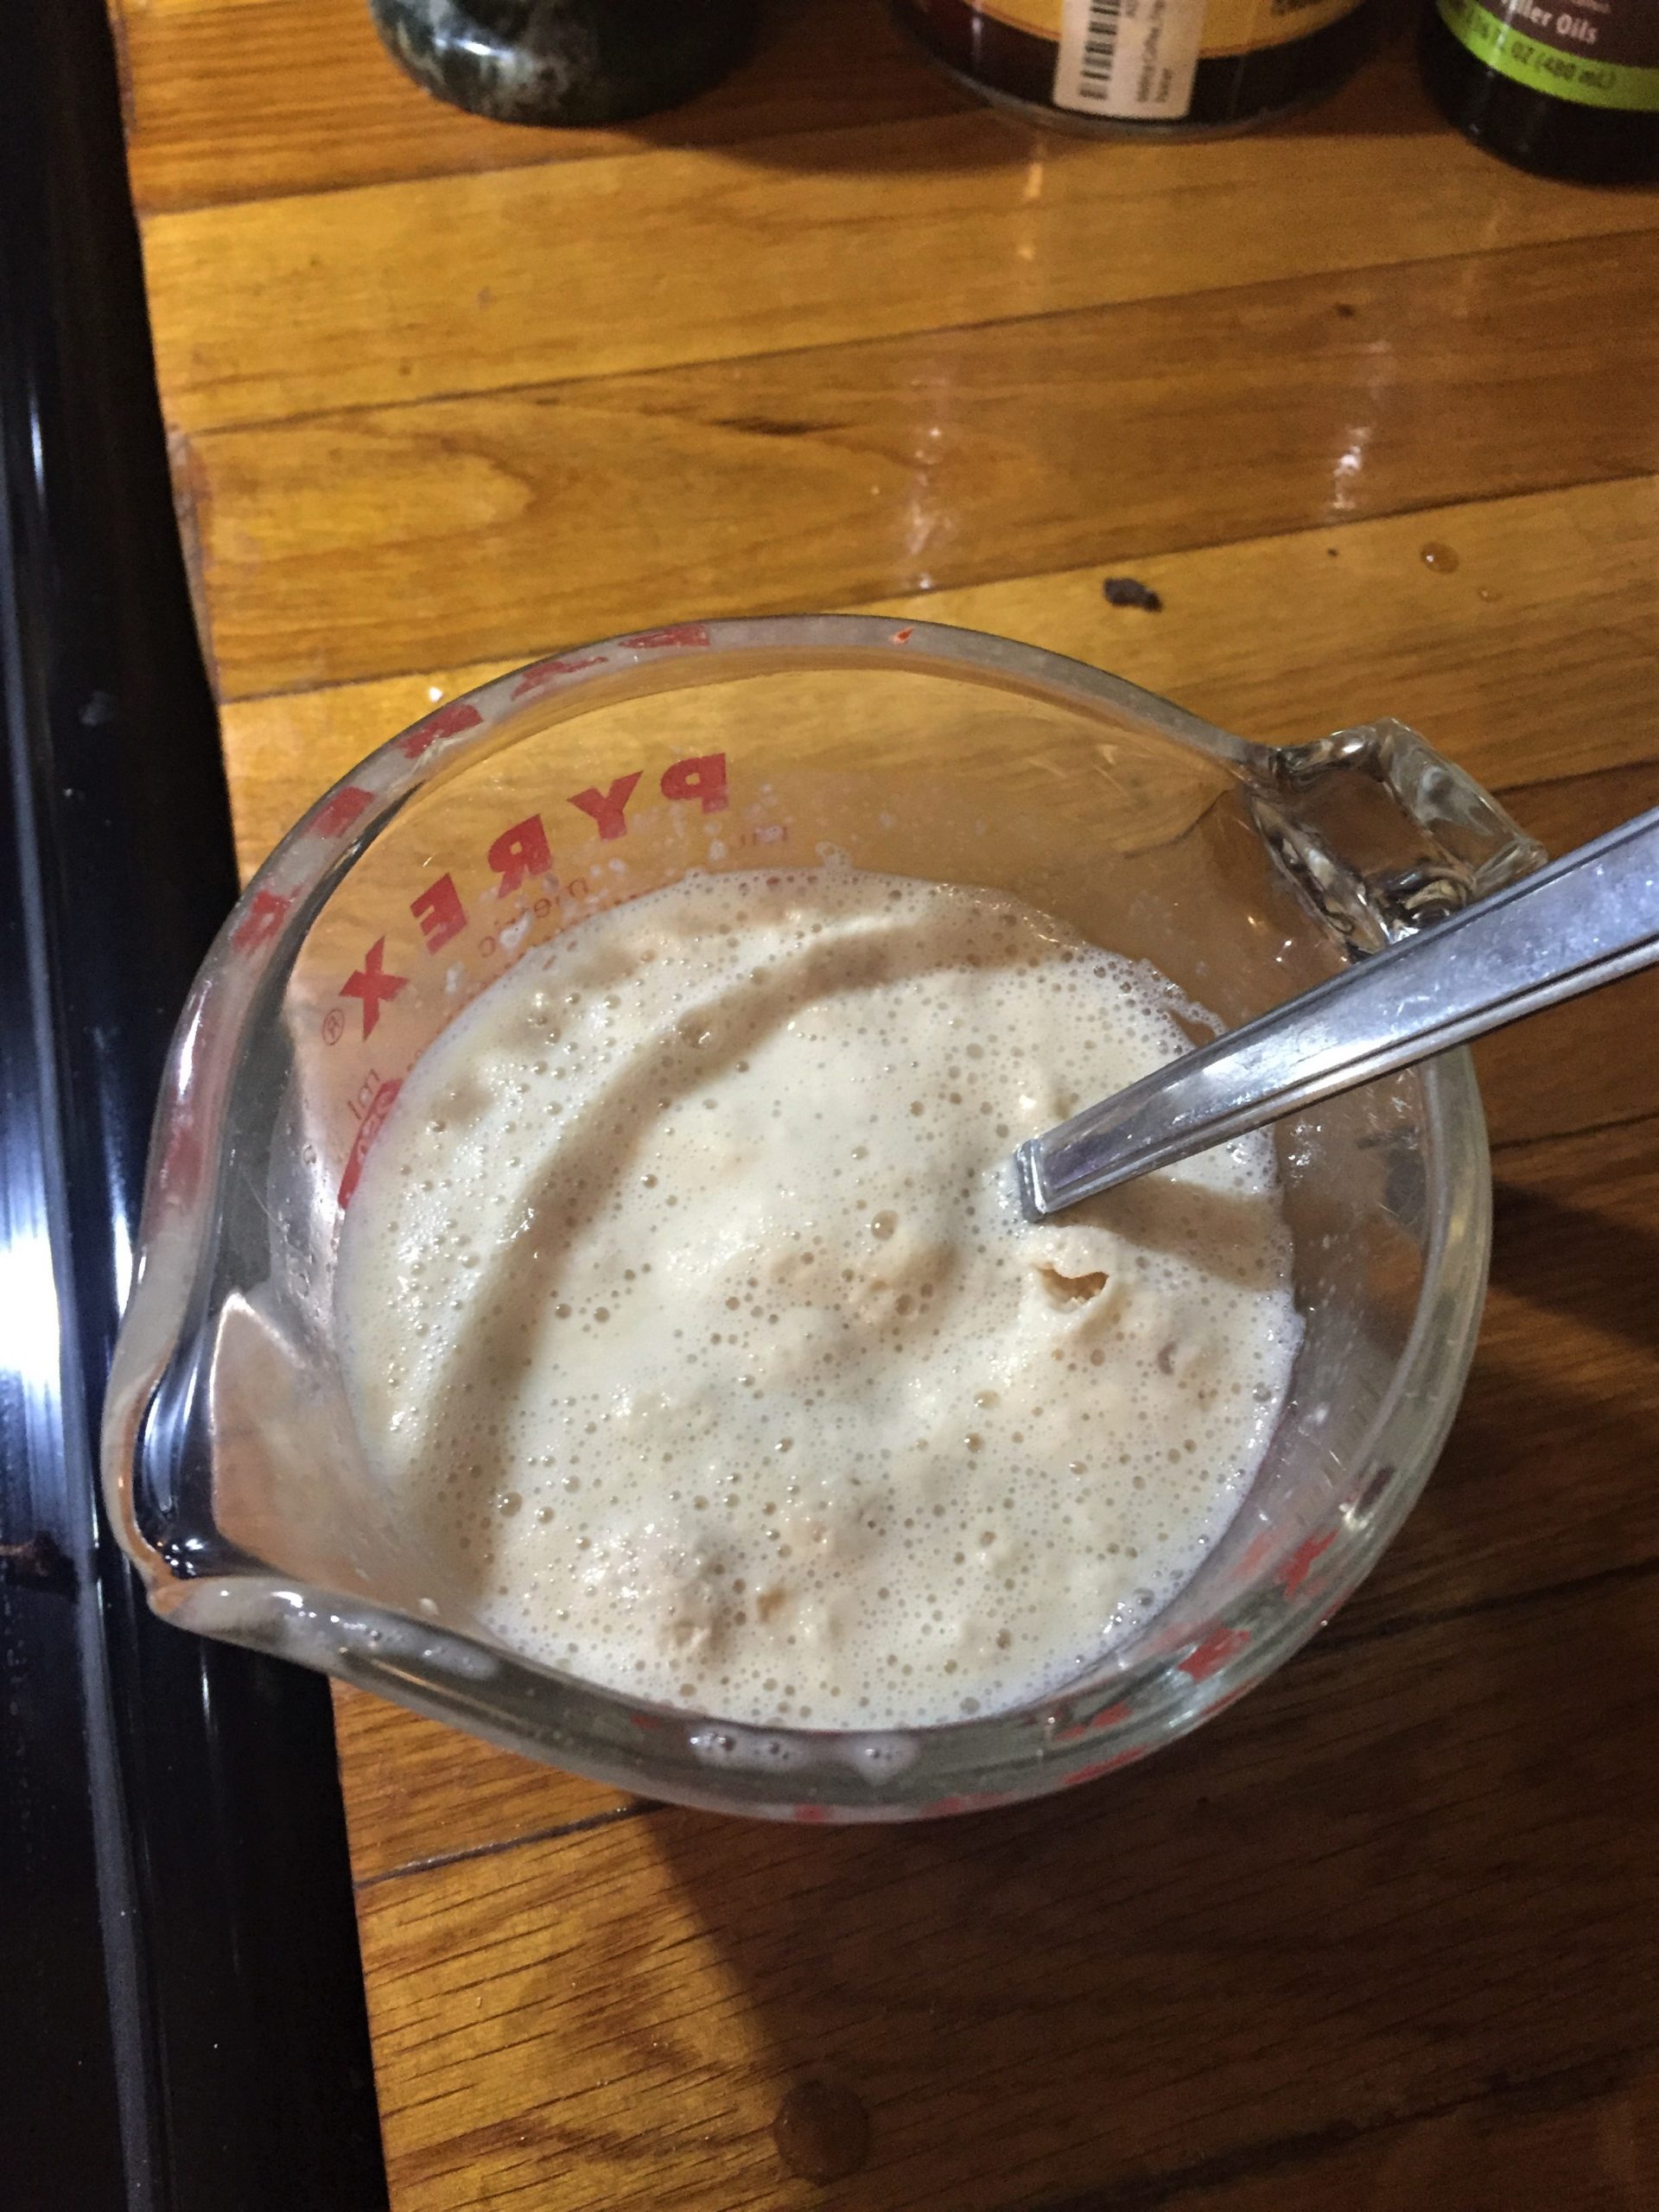
Add the yeast to the soymilk honey mixture and stir. Let sit about 10 minutes or until its foamy.
-
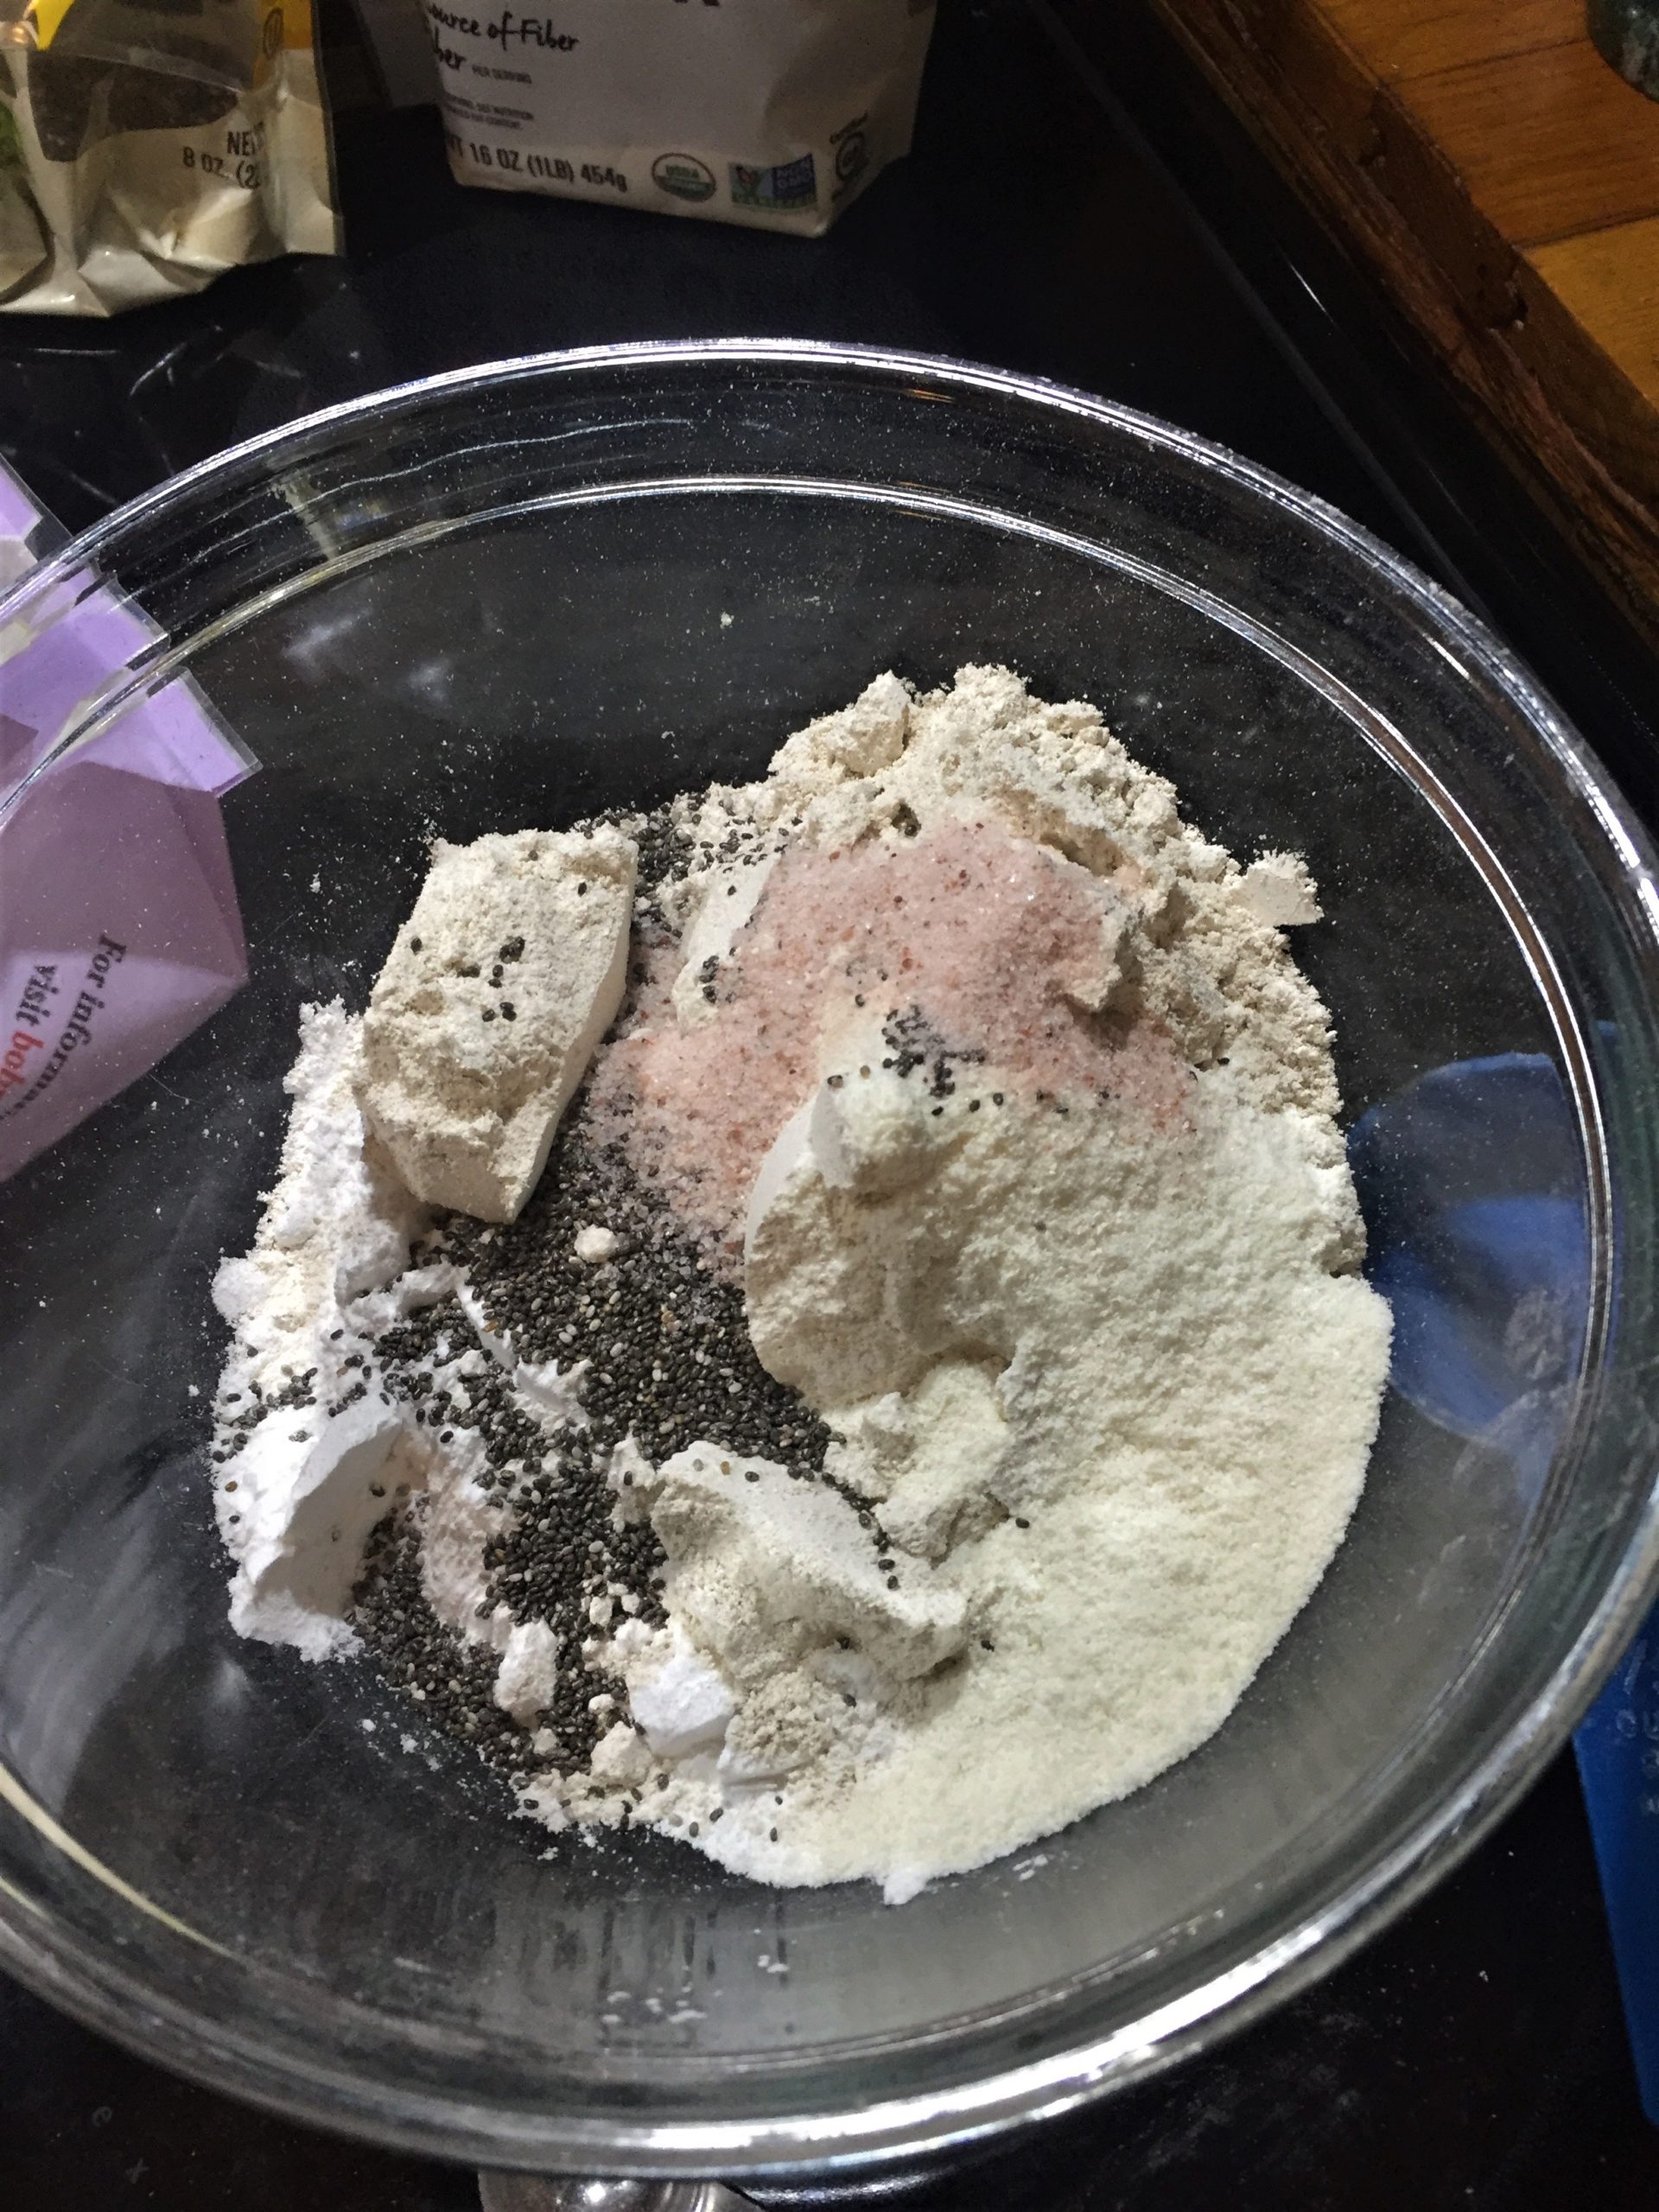
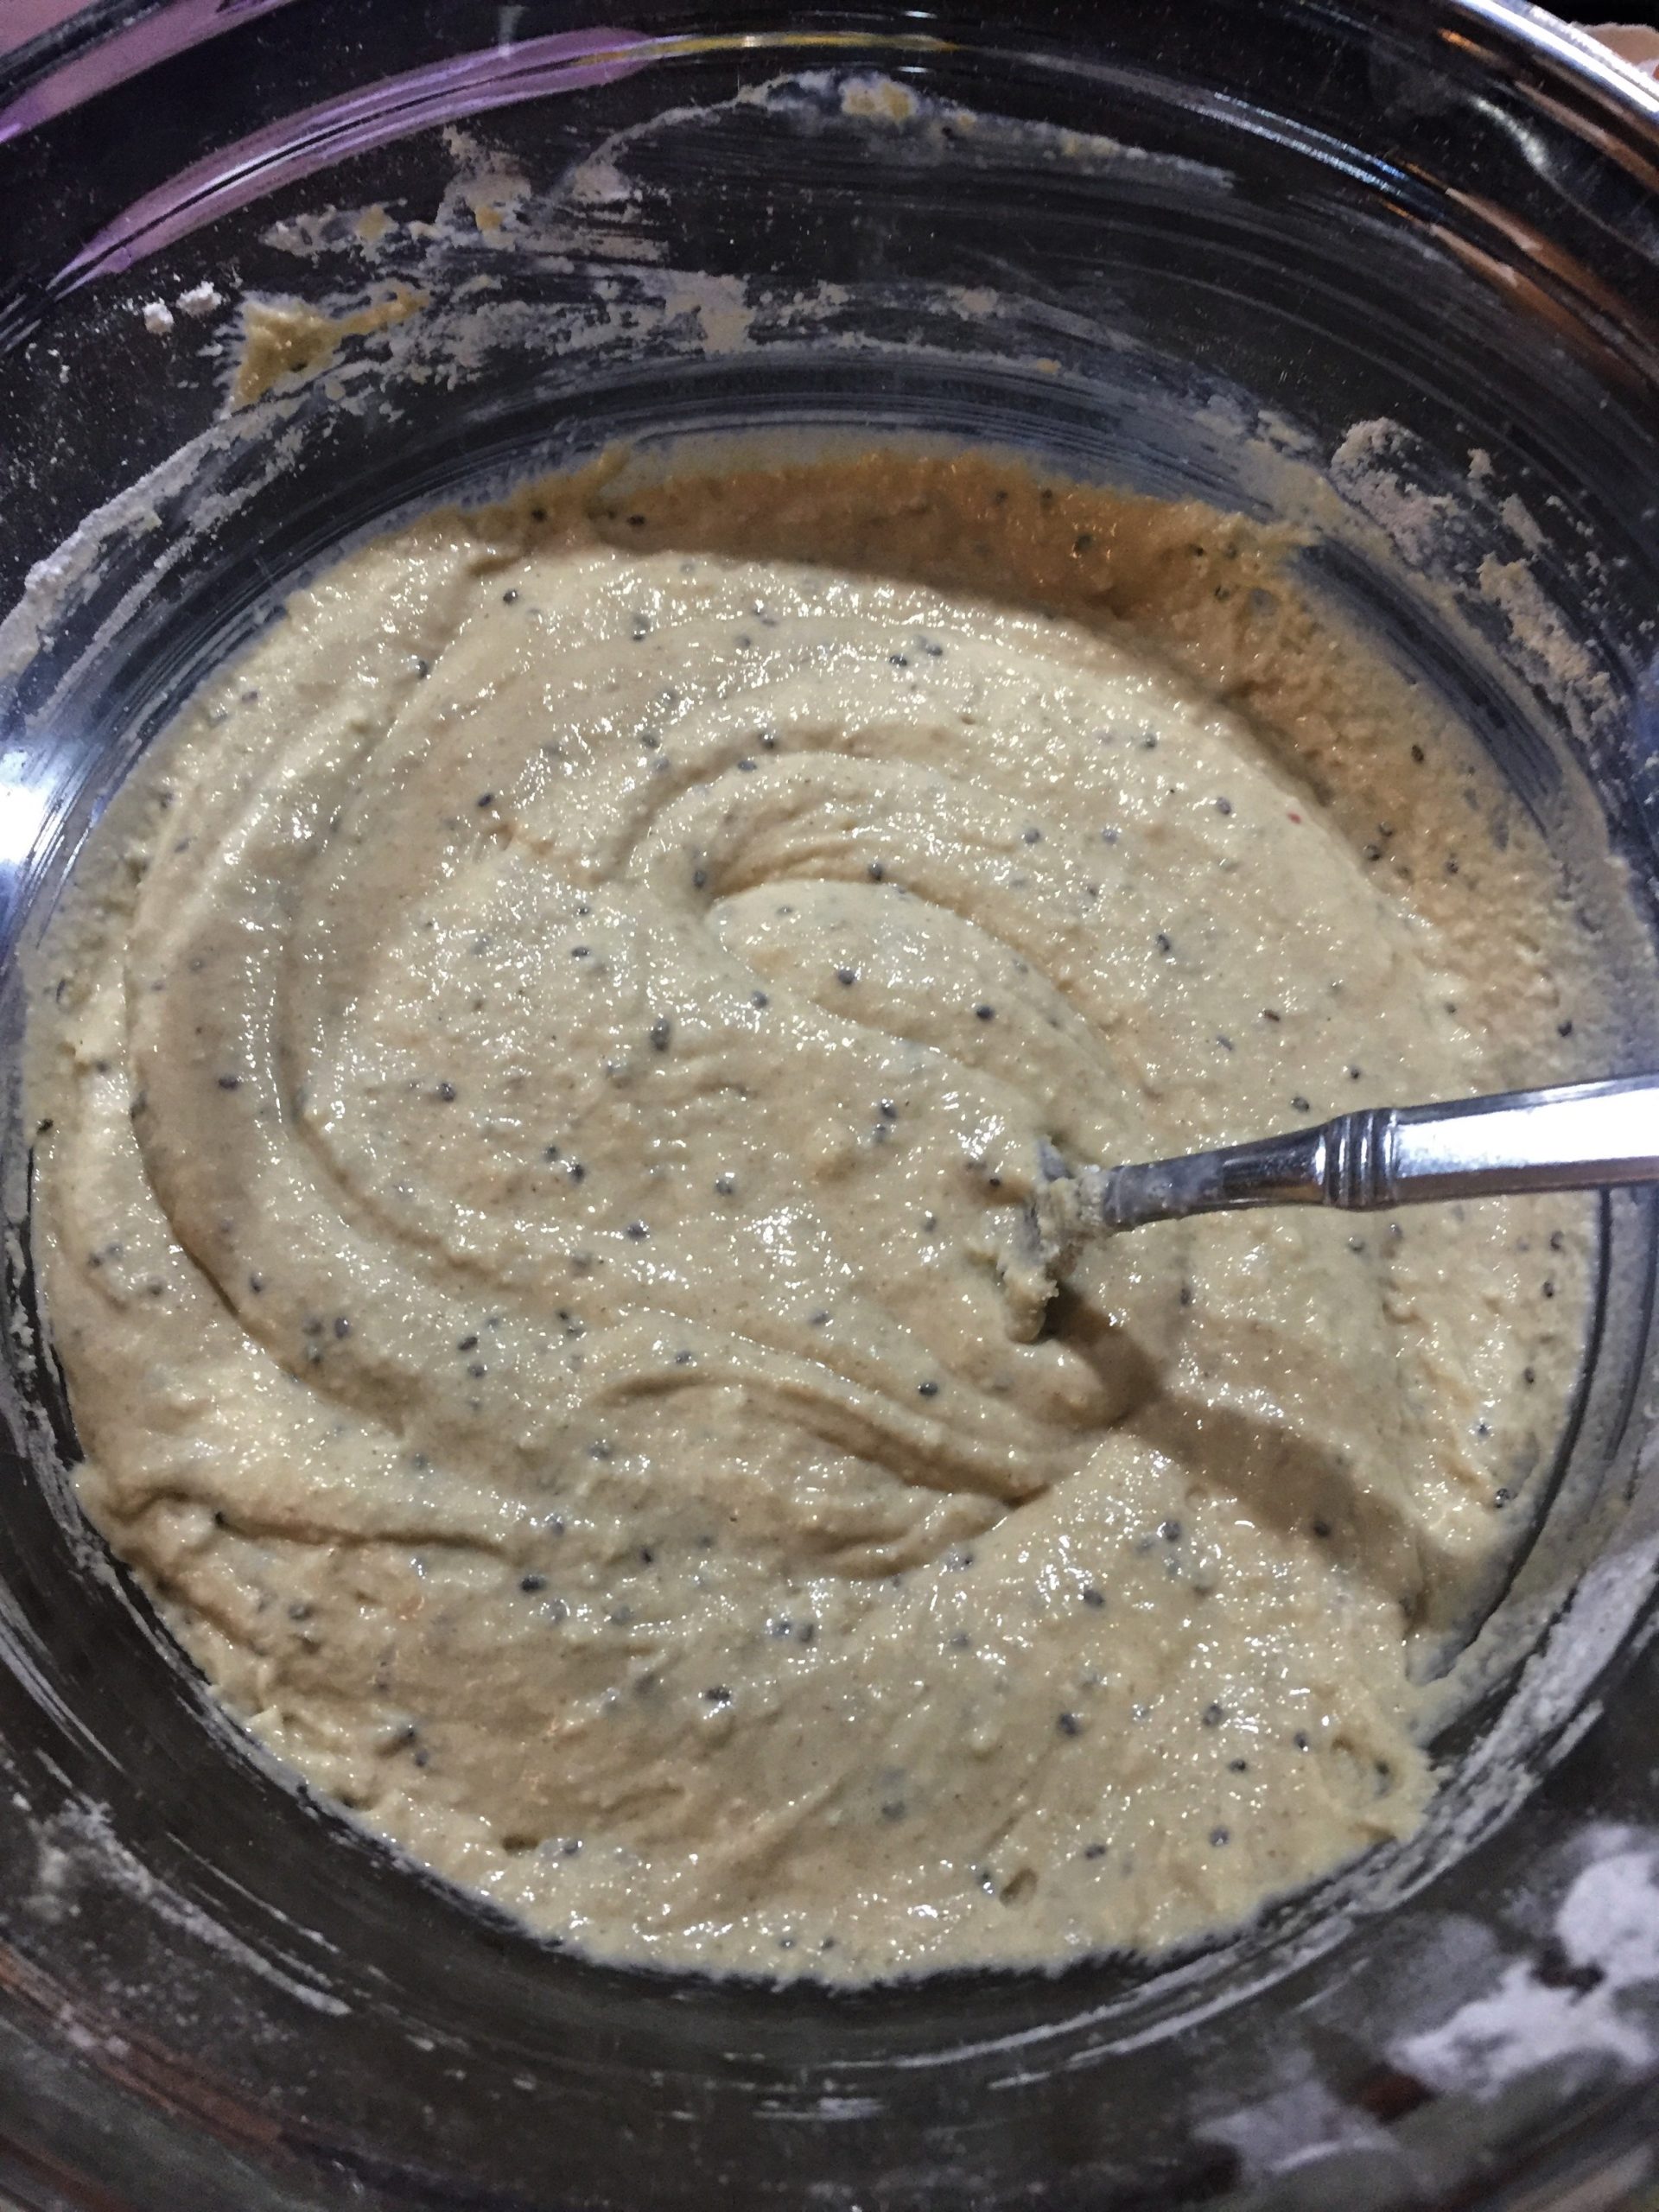
While your yeast is coming alive, measure out all of your flours, chia seeds, and salt. Put in a large bowl. Give it a little stir.
-
Add the yeast soymilk mixture to the bowl along with an egg and melted vegan butter. Mix thoroughly. At this point it will be a batter, it thickens up later.
-
Cover and let sit for 60 minutes.
-
Uncover and add the baking soda, mix very well. At this point, your batter is now a sticky dough.

-
Cover again and let sit for 30 minutes.
-
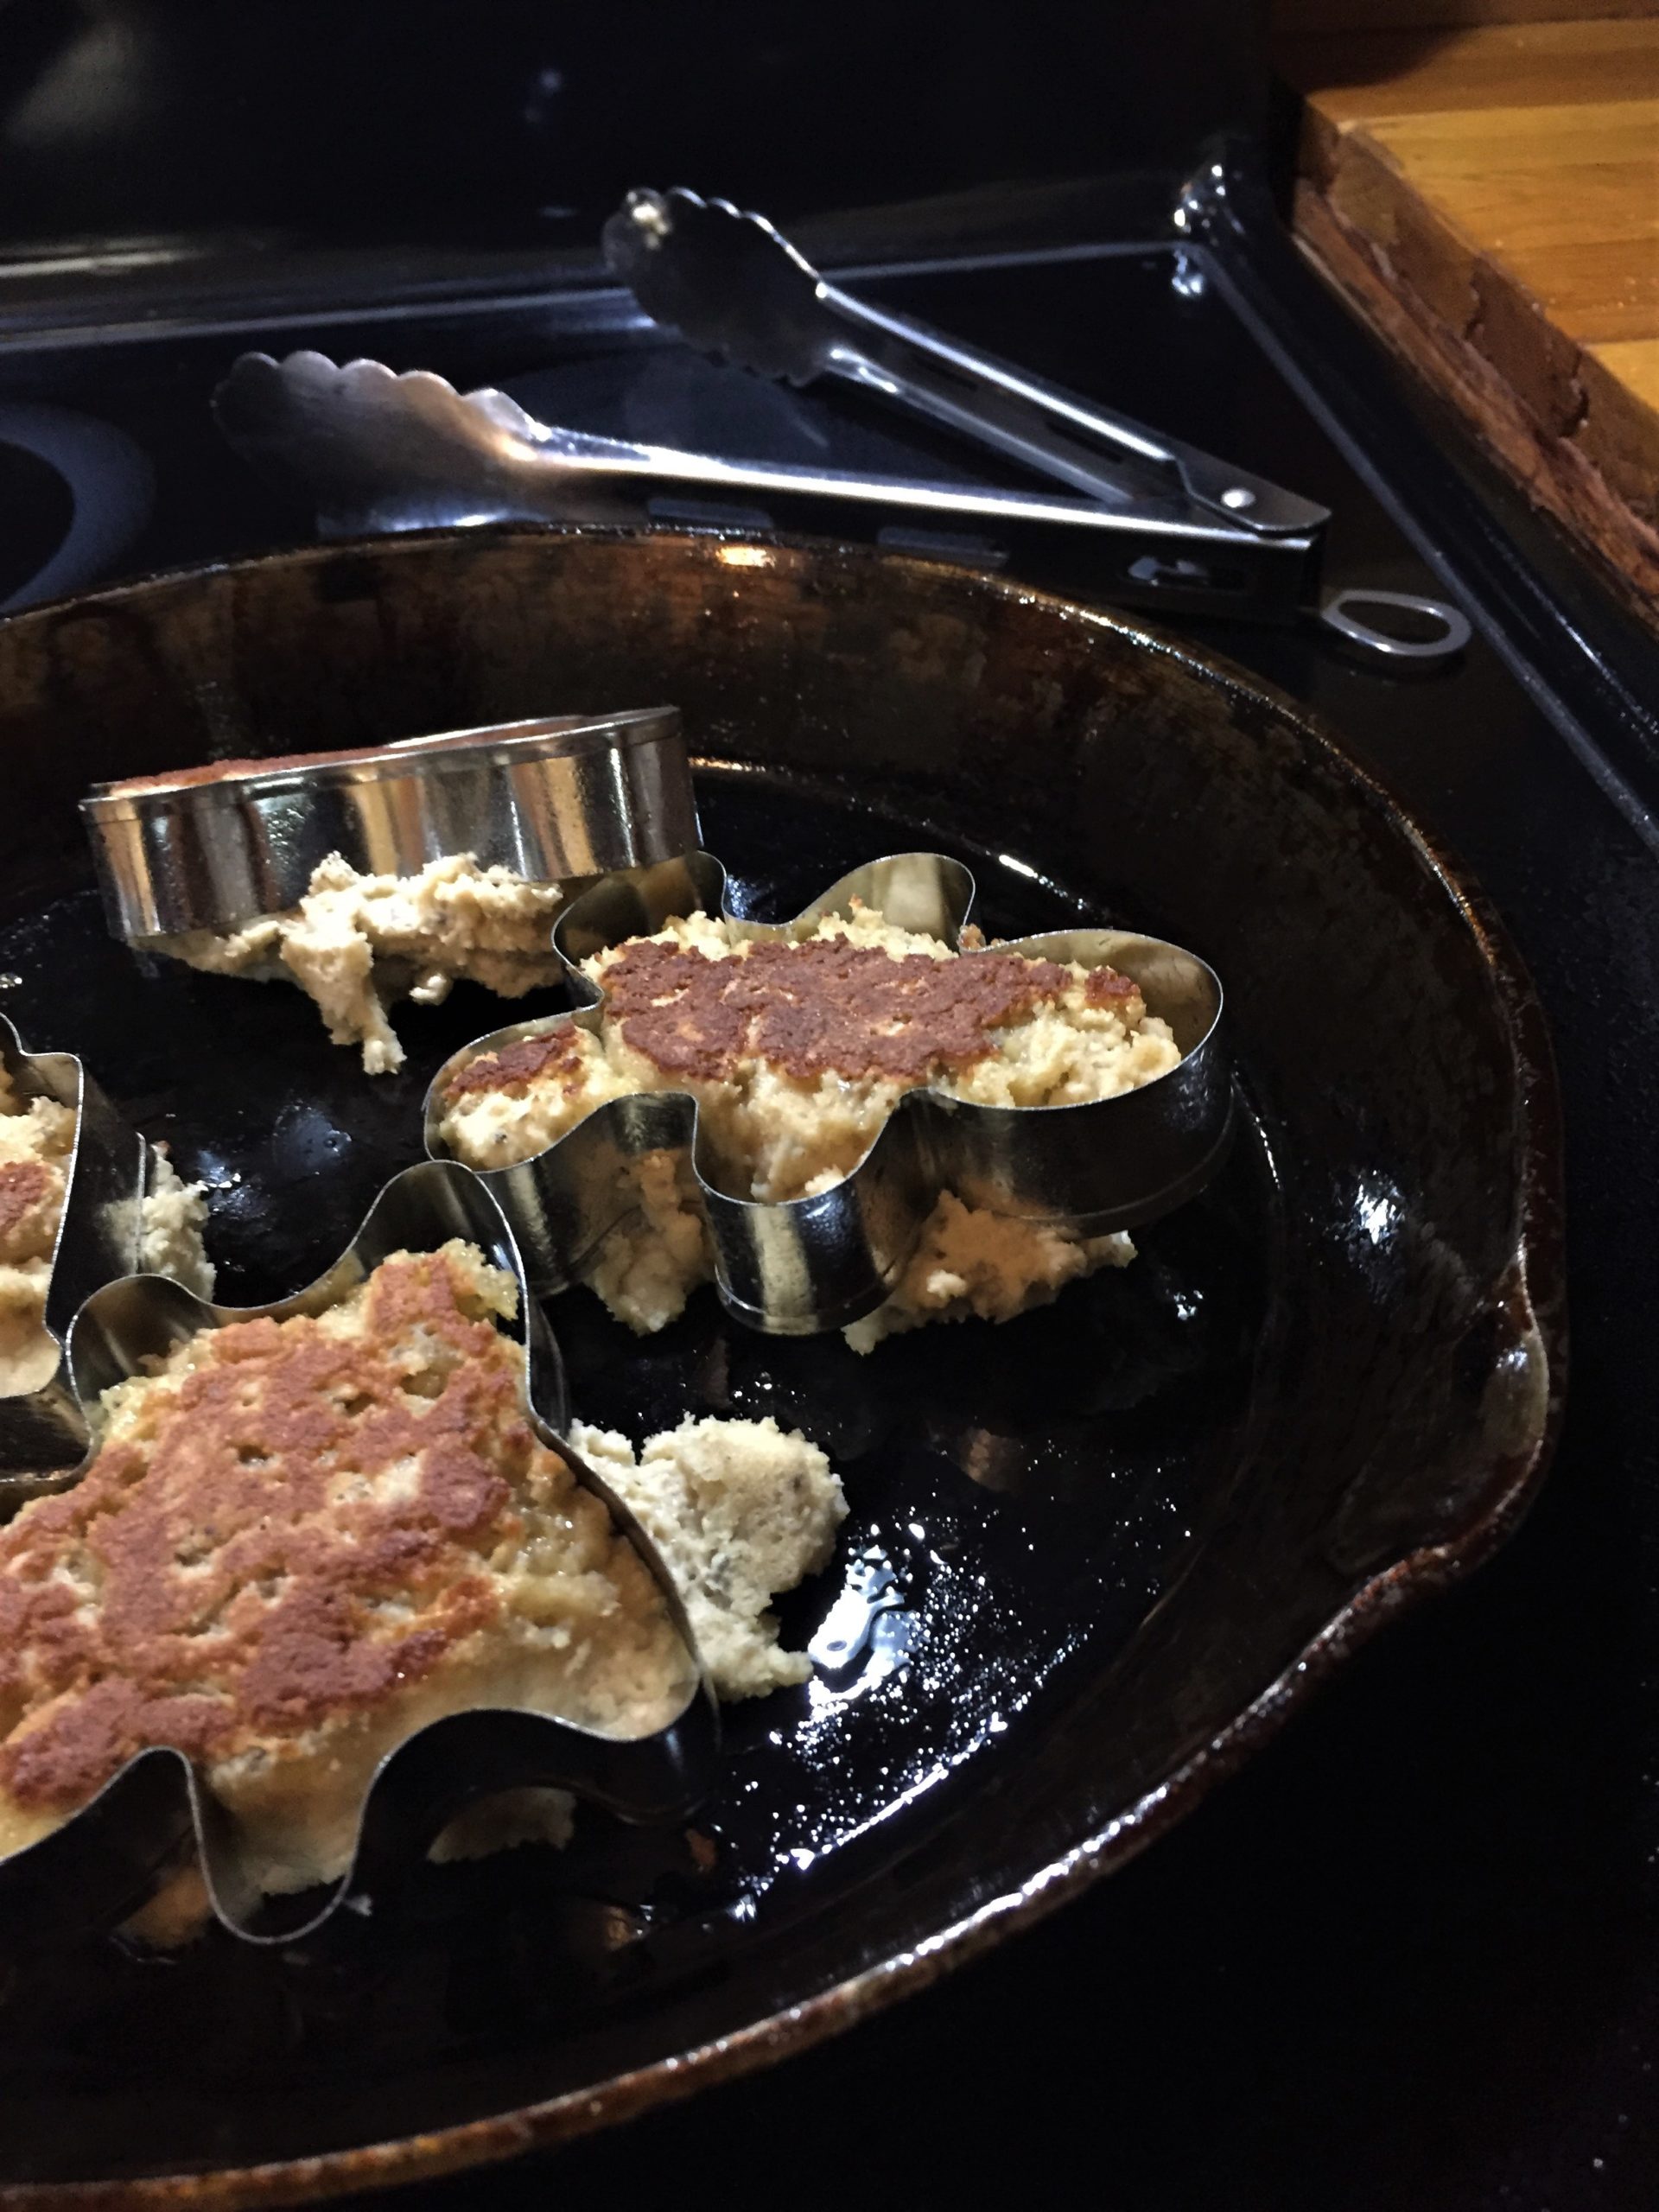
Get out a medium cast-iron or nonstick skillet and a sheet pan. Pre-heat your oven to 350 degrees Fahrenheit.
-
Preheat your skillet on low.
-
Put 3 to 4 metal cookie cutters or ring mold in your pan, spray pan and cutters well with oil spray.
-
Put a scoop of dough into each cutter/mold. Press down on the dough as little as necessary, you don't want to lose those air pockets.

-
Cook 3-5 minutes a side or until browned, then flip. If it takes more than 5 minutes or less than 3 to get brown, adjust your heat.
-
Brown on other side. Remove from skillet and put on a sheet pan. Gently press out of the cookie cutters.
-
Repeat until out of dough.
-
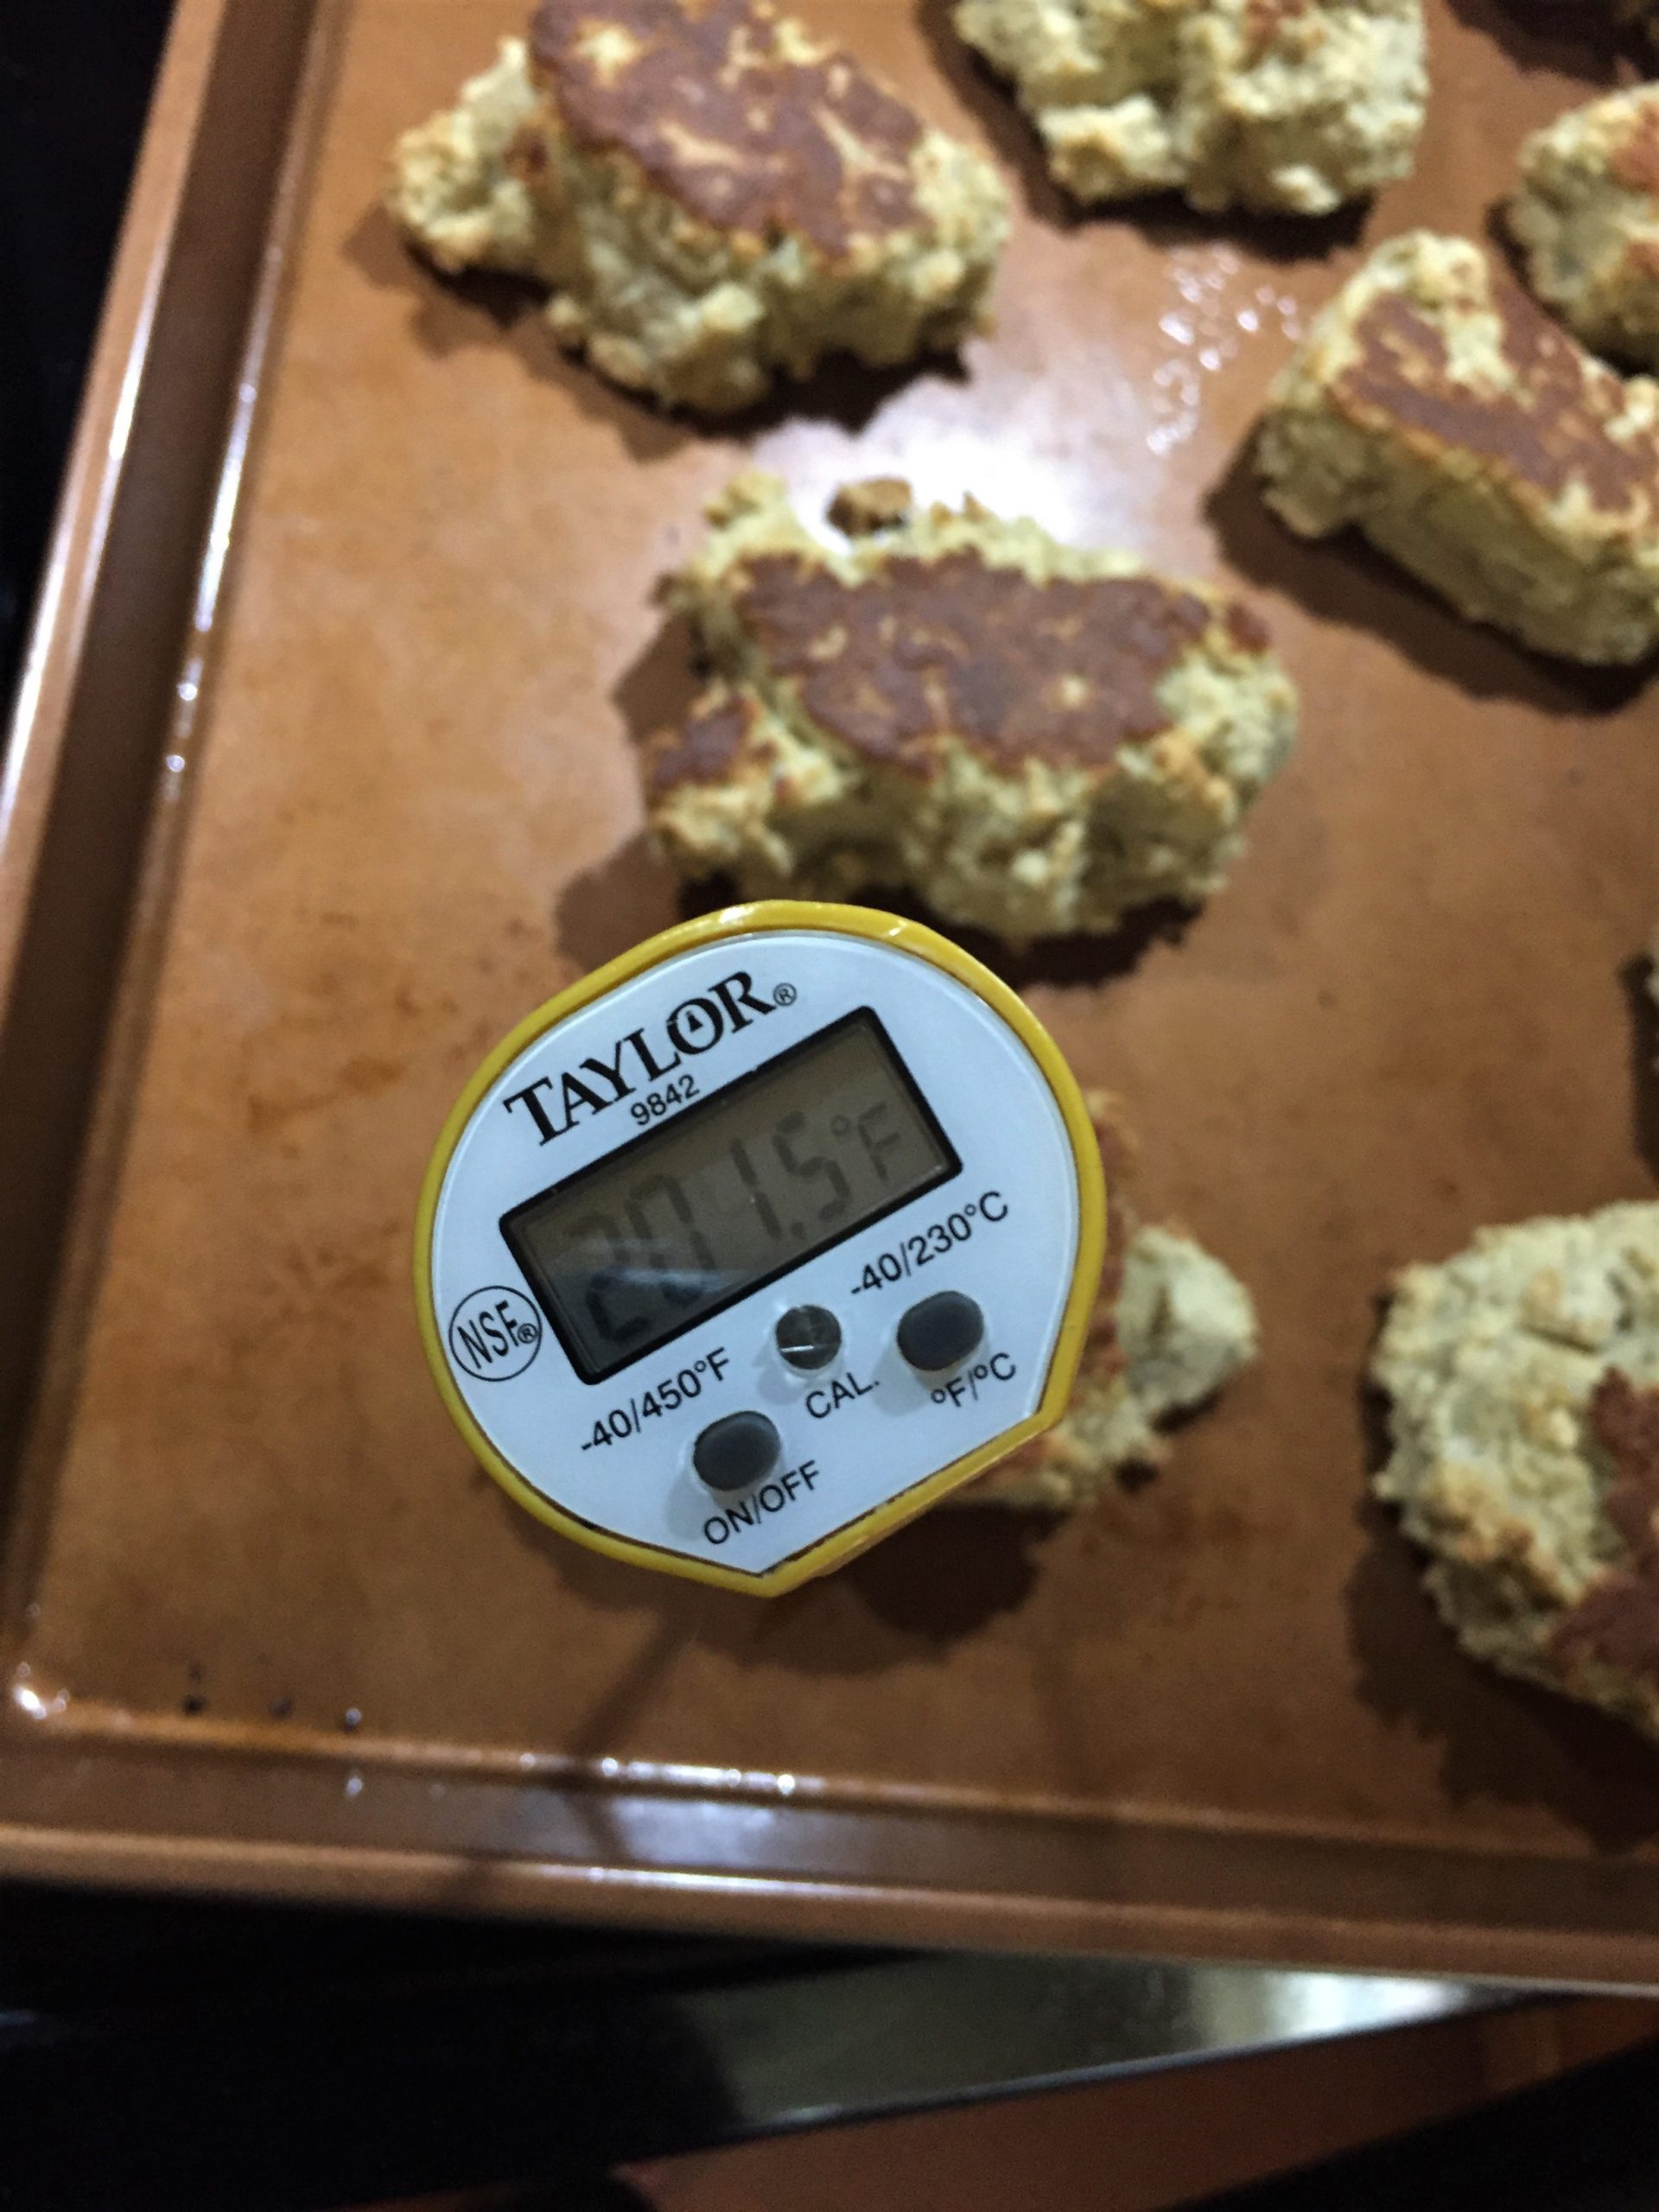
Put them in the oven and bake at 350 degrees for about 15 minutes. To be extra sure they're done: use a thermometer. They're done when they reach 200 degrees Fahrenheit inside.
-
Enjoy!
