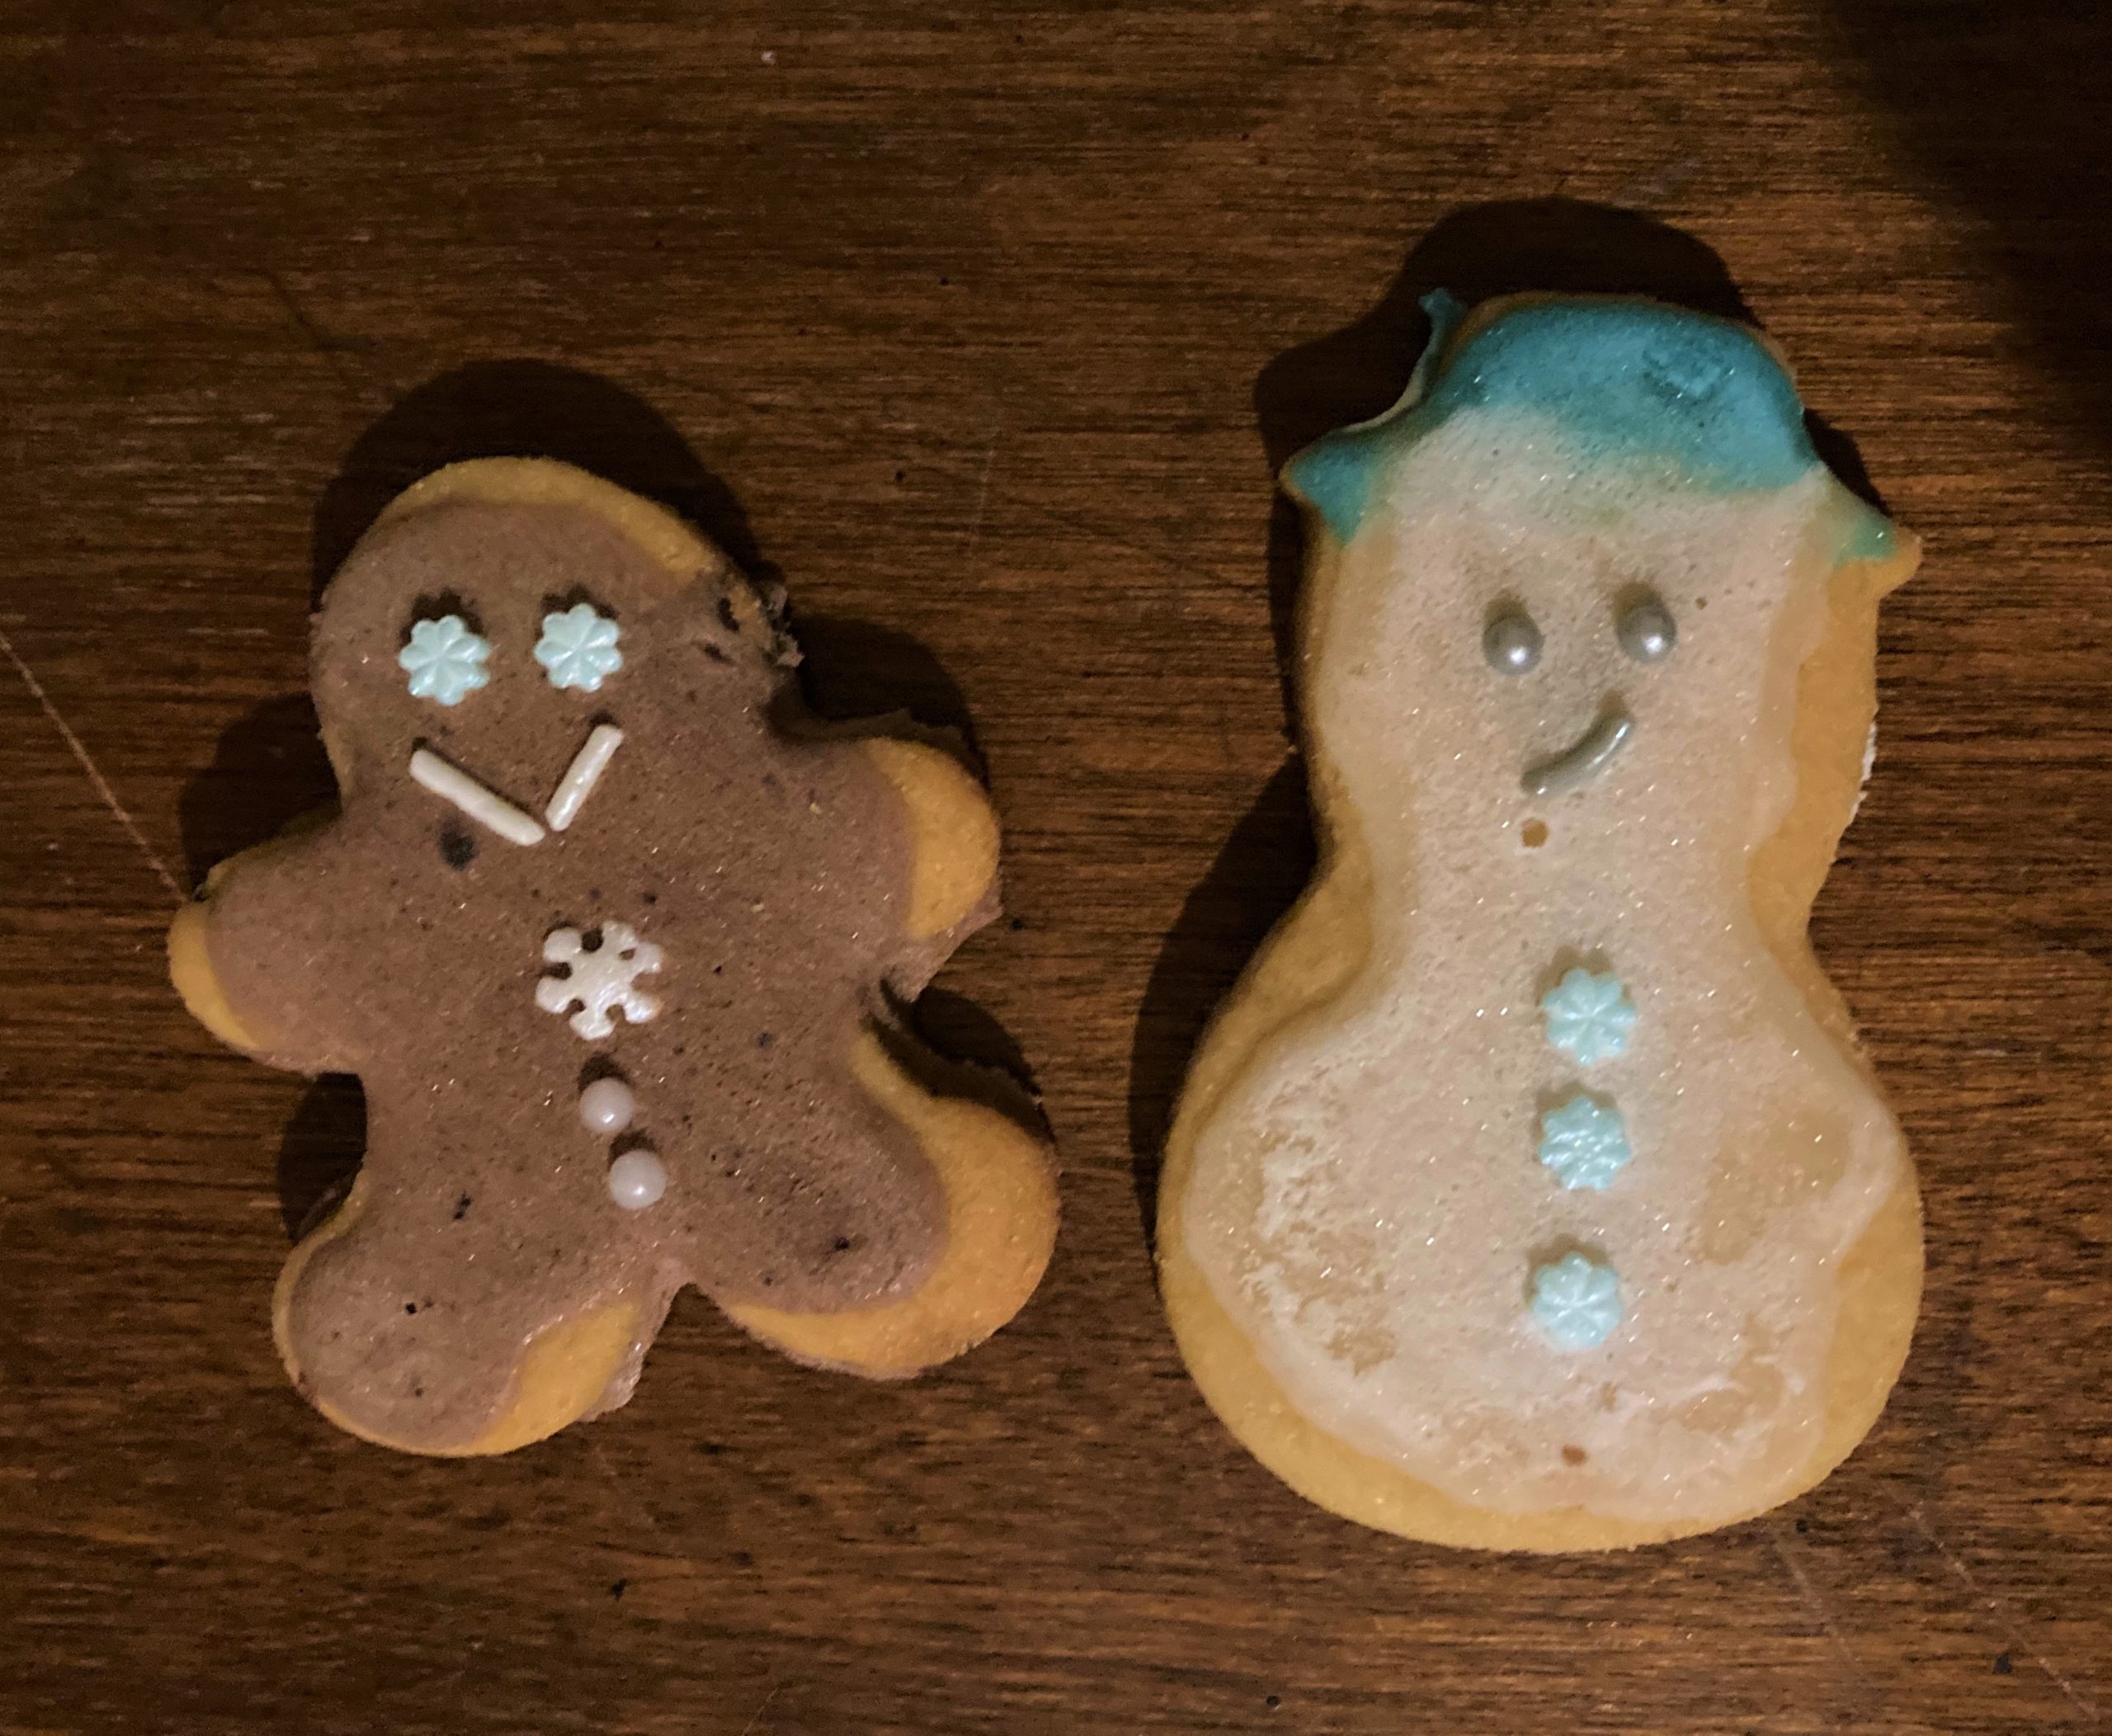
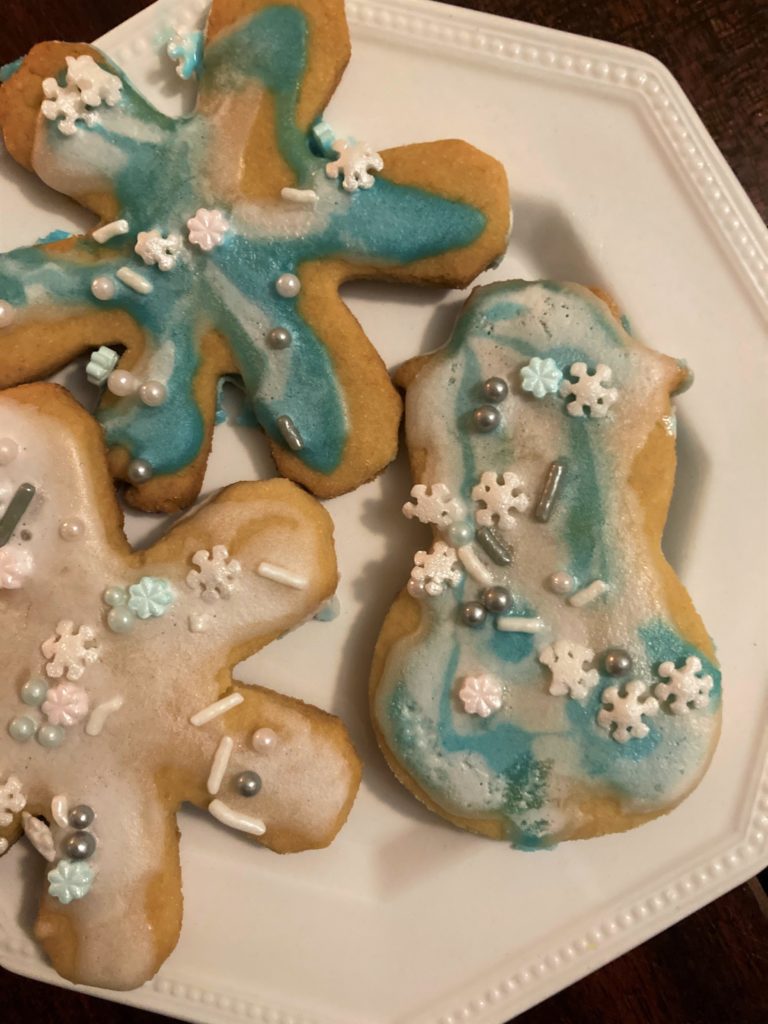
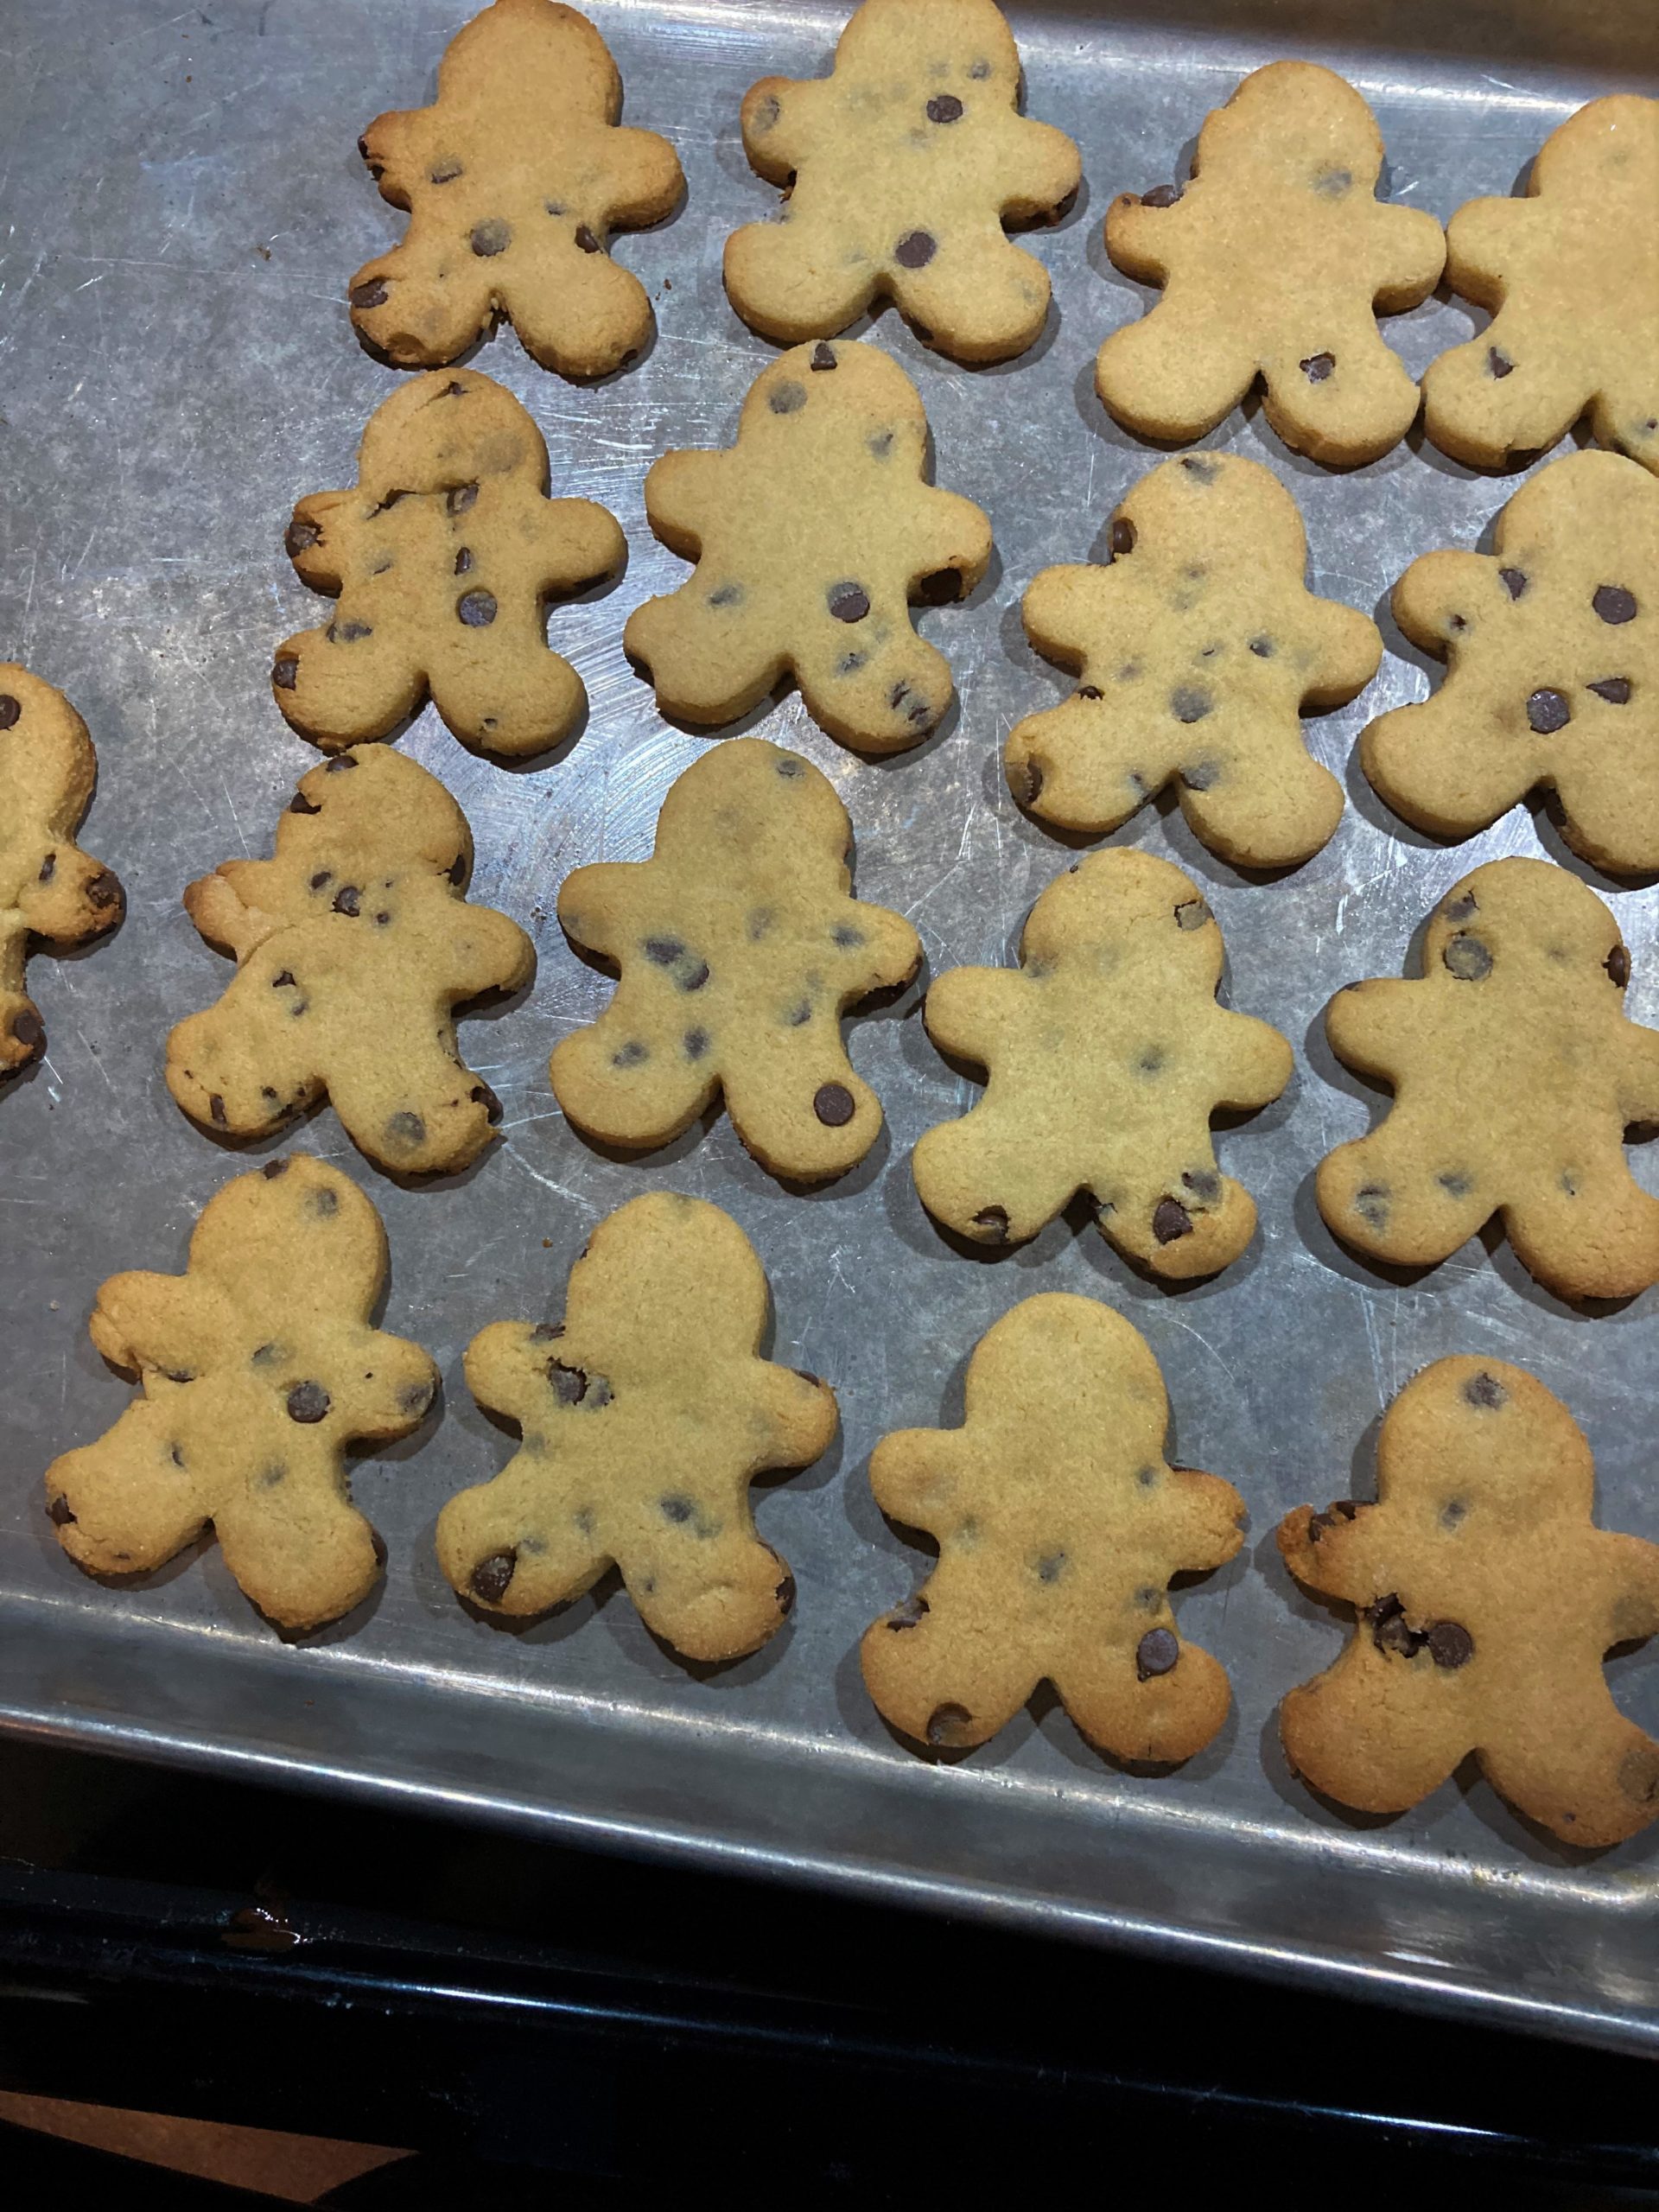
GF DF SF cut-out sugar cookies! Well, I guess sugar cookie is a bit of a misnomer. These have less than a gram of sugar each! They’re also gluten and dairy-free as the name suggests. But they bake up soft and chewy with a great flavor and gentle sweetness. These are really made to be frosted or iced, though you can up the sweetener by a half cup if you want a sweeter cookie. These also don’t spread while they bake! You do have to be gentle with them while cutting because they are a bit softer and more fragile than regular sugar cookies, but it’s still very doable. I don’t recommend using very intricate cookie cutters with this recipe.
Word of warning, as painful as it is, do not eat the raw dough. This was a lesson my father learned the hard way. It’s nasty bitter due to the raw chickpea flour. That taste completely bakes off though, I promise. You may also notice a smell with the raw dough that’s a little odd, like when you’re soaking raw beans. Again, don’t worry, that bakes off and they smell amazing when they’re finished!
This GF DF SF cut-out sugar cookie recipe makes a ton of cookies, about 5 dozen depending on the size of your cookie cutters. I include a sugar-free royal icing recipe. It doesn’t behave quite like normal icing. For example, it takes much longer to set. It does set eventually, you just have to be patient. You’re free to use some other icing or frosting recipe.
The eggs, vegan butter, and vegan cream cheese should all be room temperature for this recipe, otherwise, it’s very difficult to mix! Though after you mix the cookie dough you’ll want to chill it before trying to roll it out. I do a quick chill by putting it in the freezer for 15 minutes and then transferring it to the fridge for 20 minutes. Otherwise, chill for at least one hour in the fridge. Not in the mood to cut out cookies? Roll it into a log shape before chilling and make slice and bake cookies.
Serve these up with a tall glass of soymilk, and enjoy!
GF DF SF Cut-Out Sugar Cookies
Ingredients
Cookies
Icing
Instructions
-
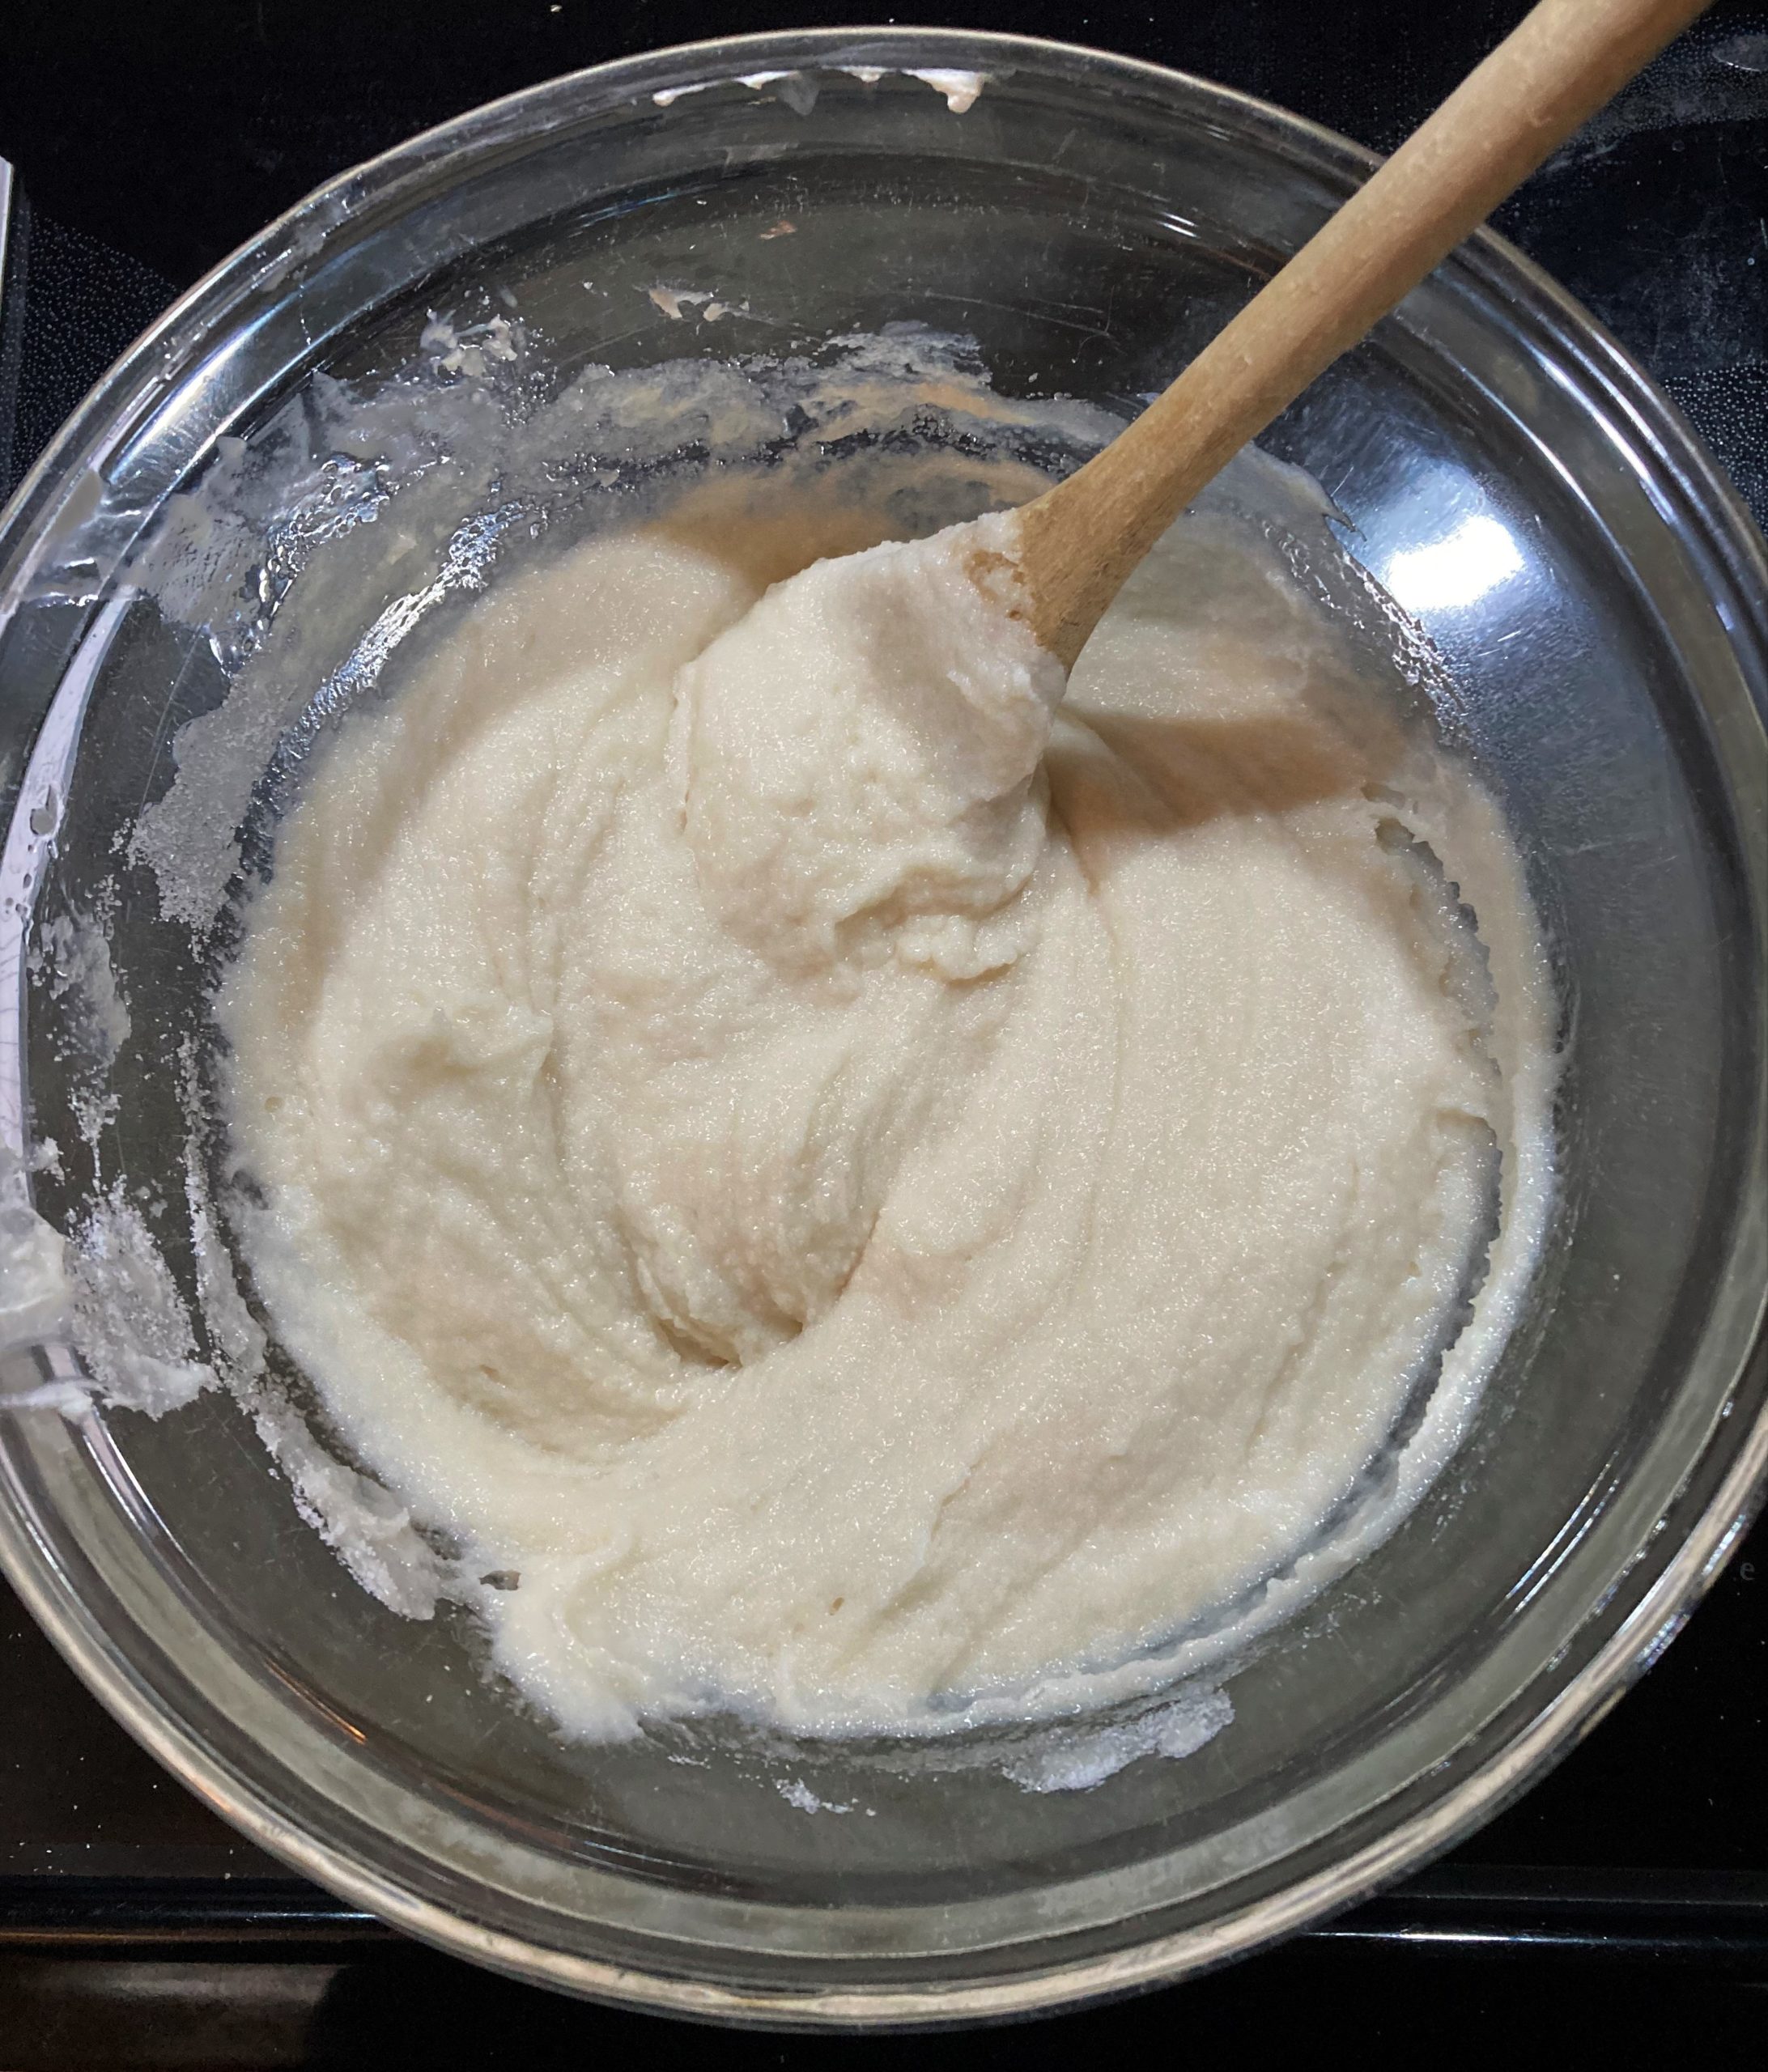
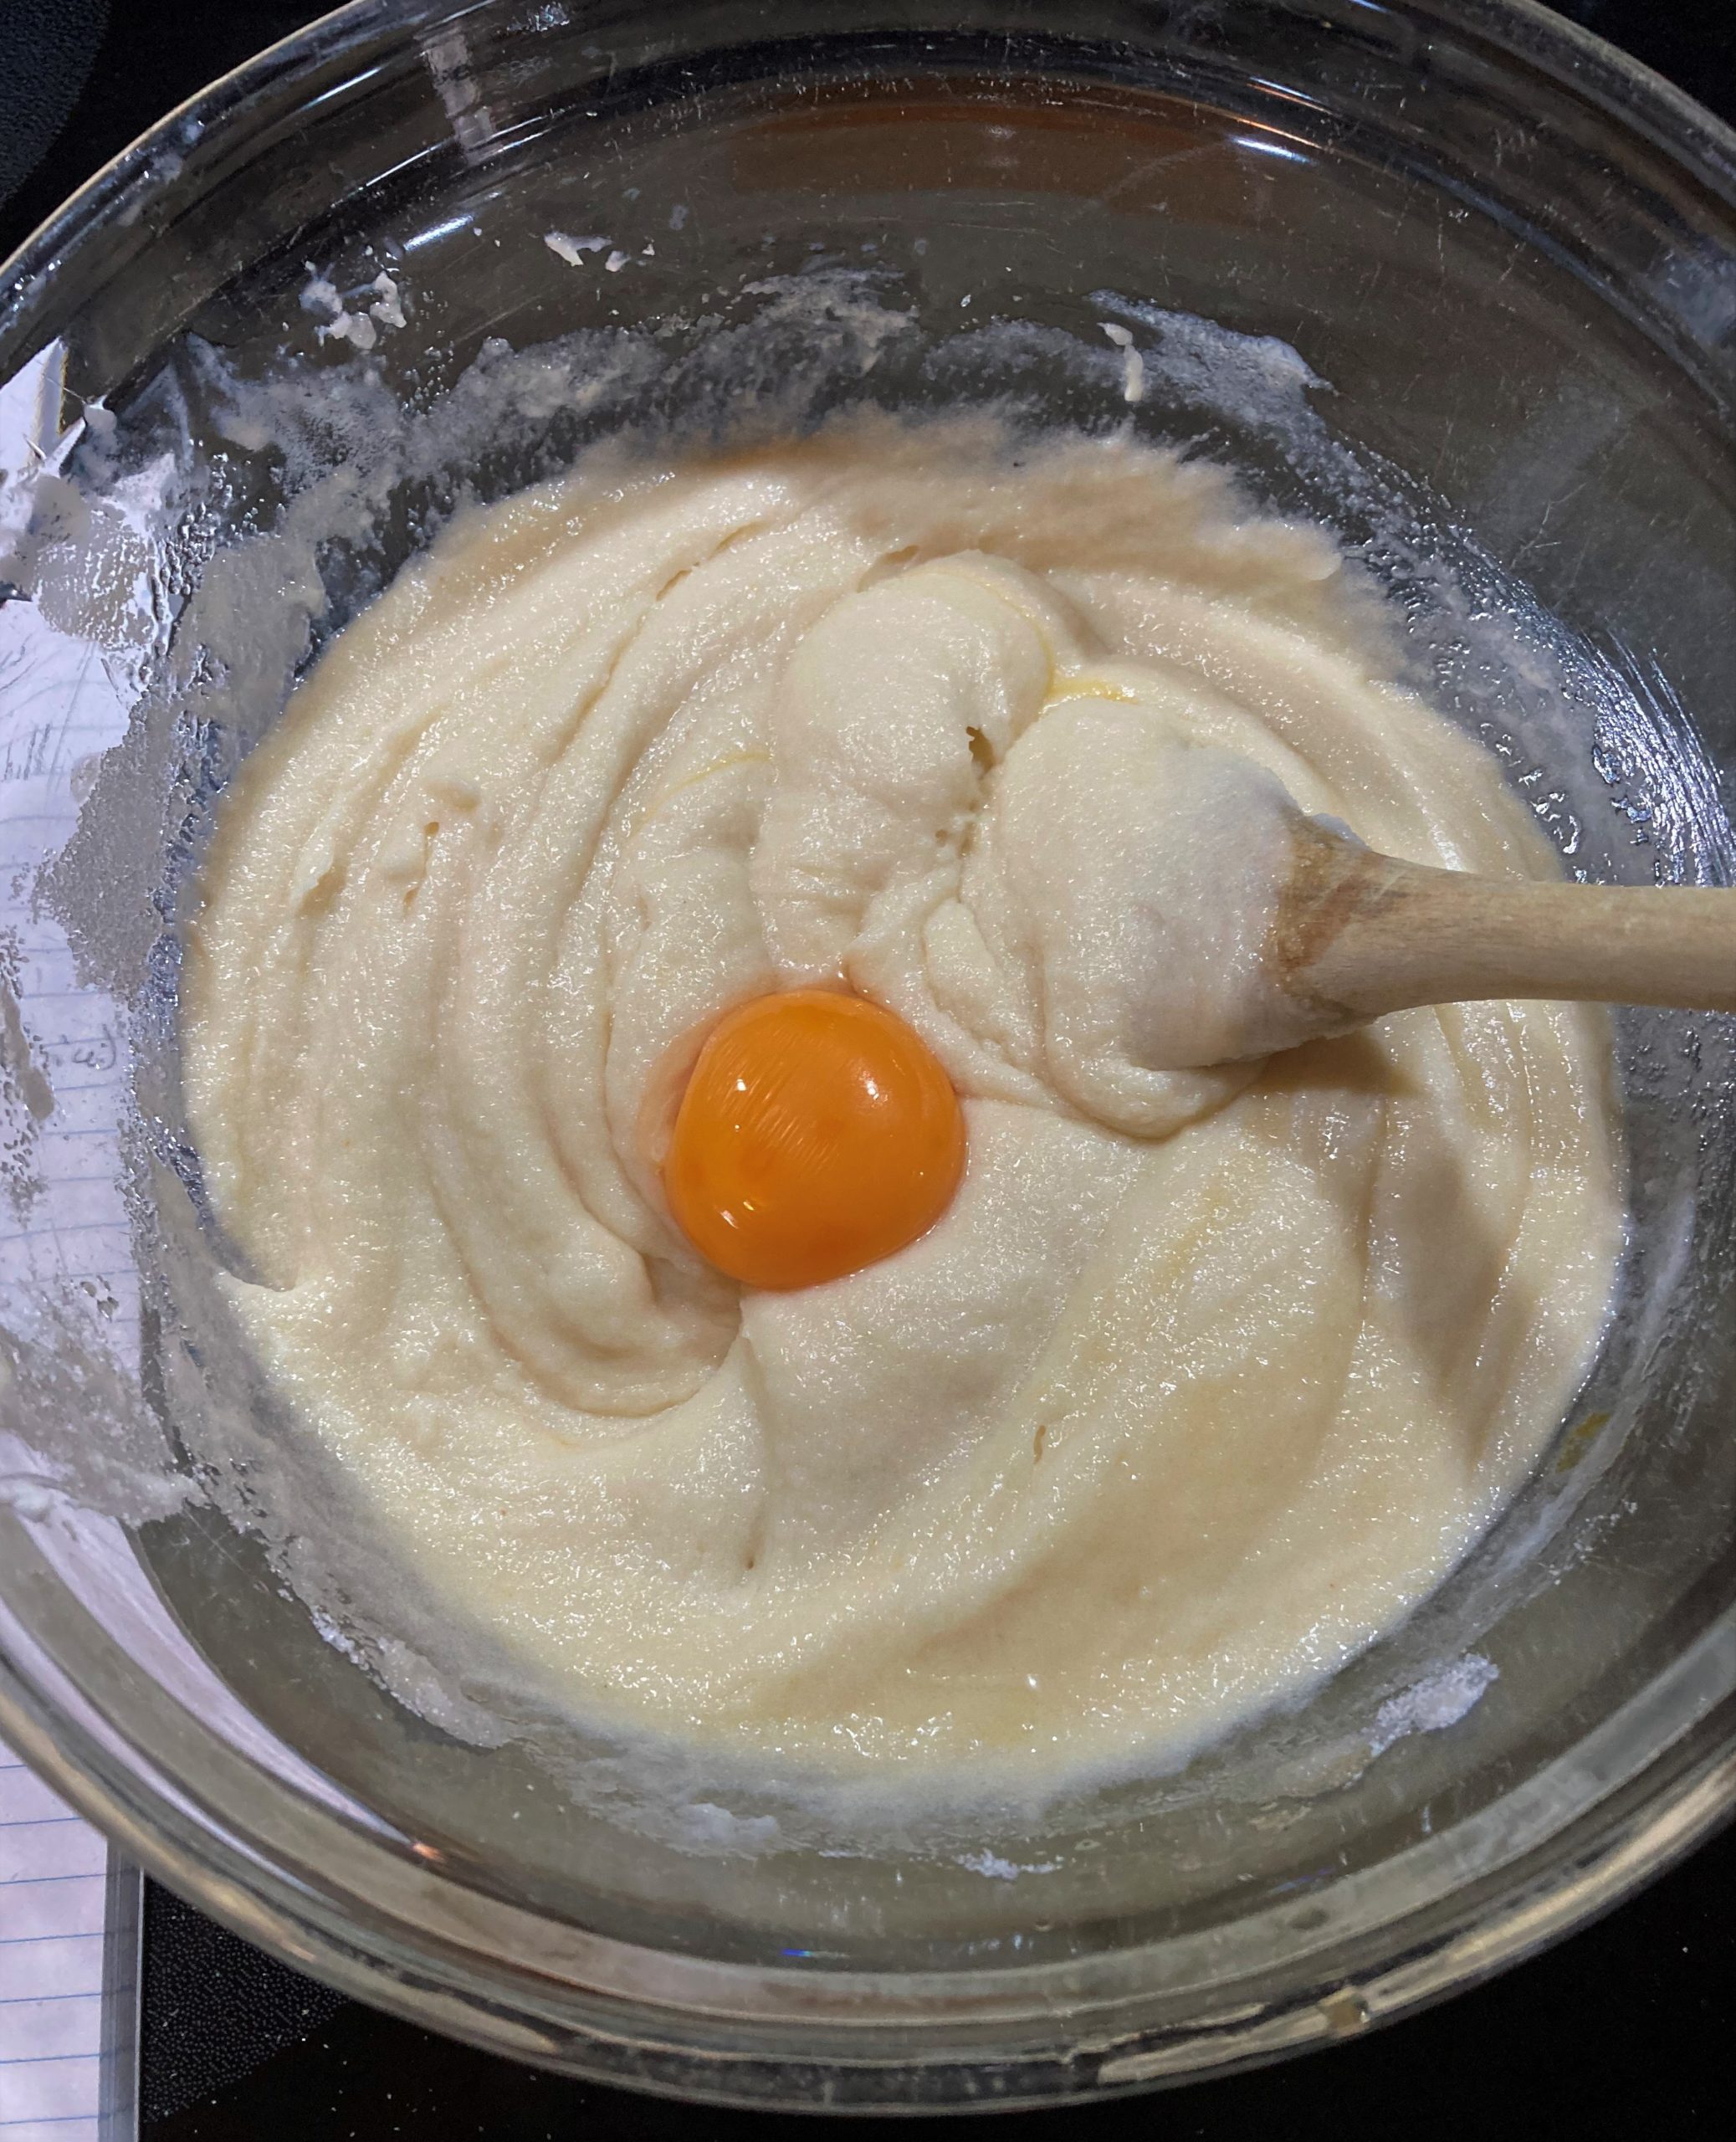
Measure your room temperature vegan butter and cream cheese alternative into a large mixing bowl.
-
Add the granulated allulose to the bowl and combine with a wooden spoon or rubber spatula
-
Separate two eggs and add the yolks to the bowl and mix one at a time. Place the egg whites in the fridge for making the icing later.
-
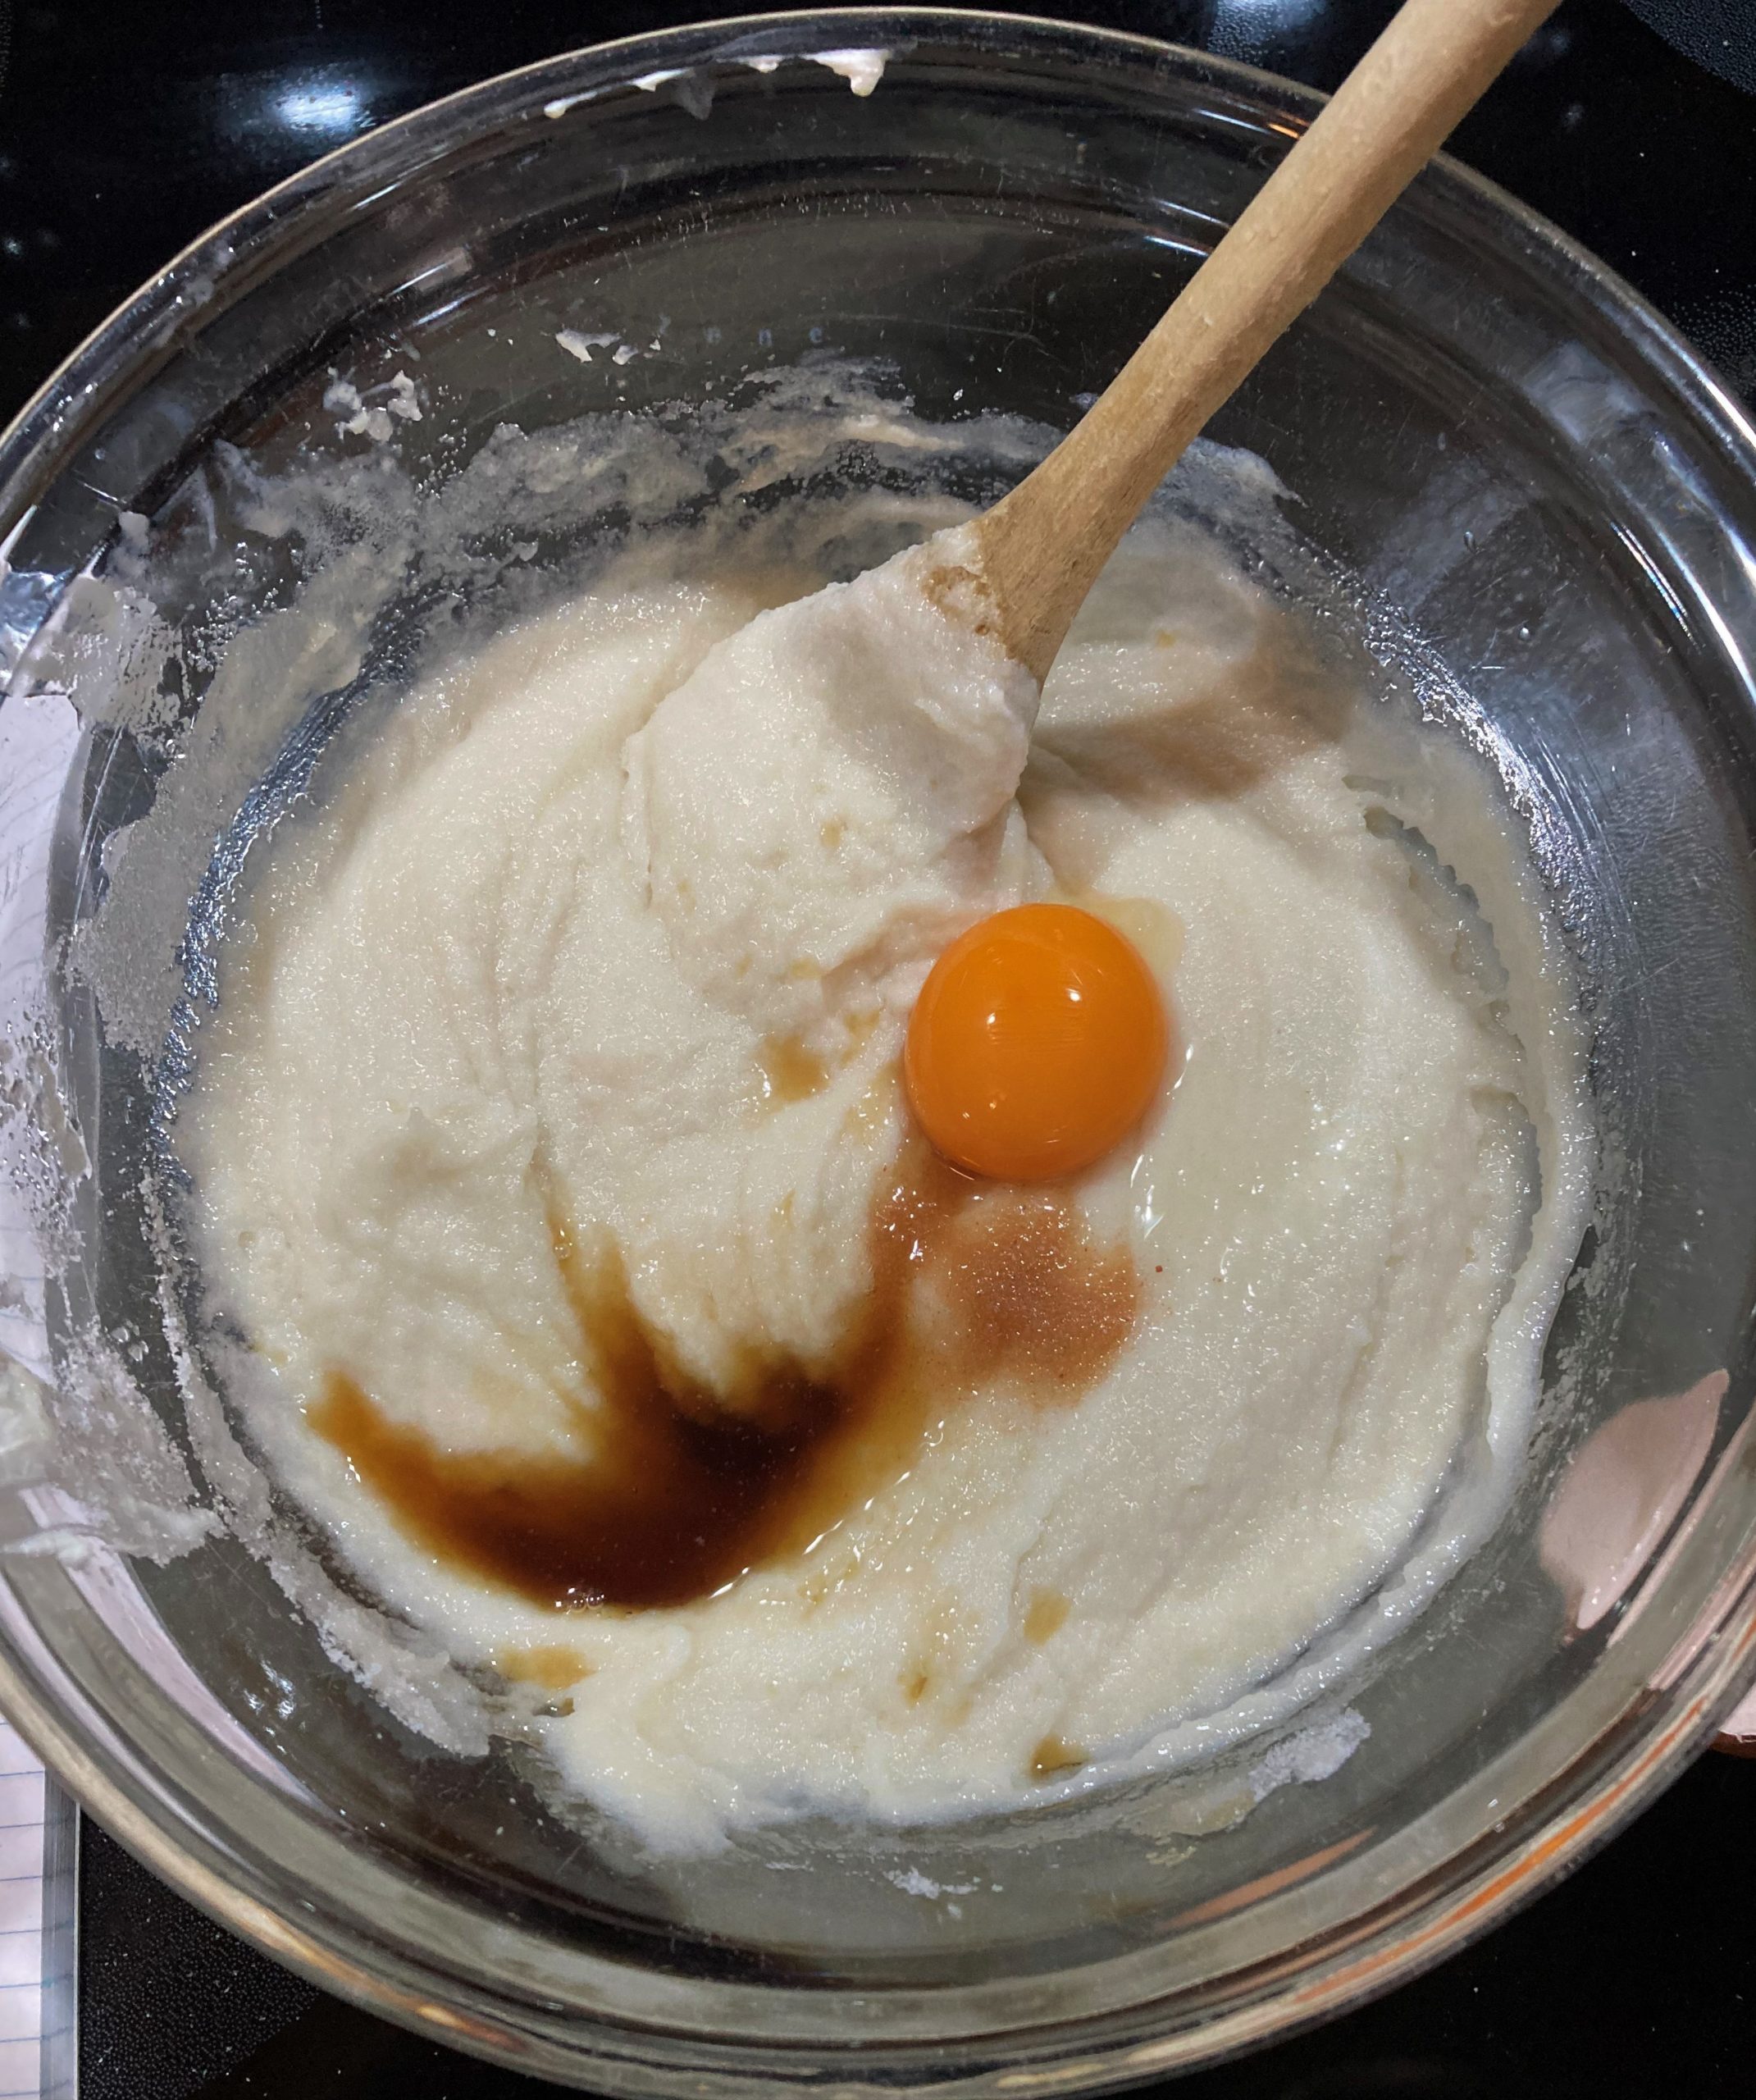
Add a whole egg to the bowl along with the vanilla extract and salt to the bowl and mix thoroughly.
-
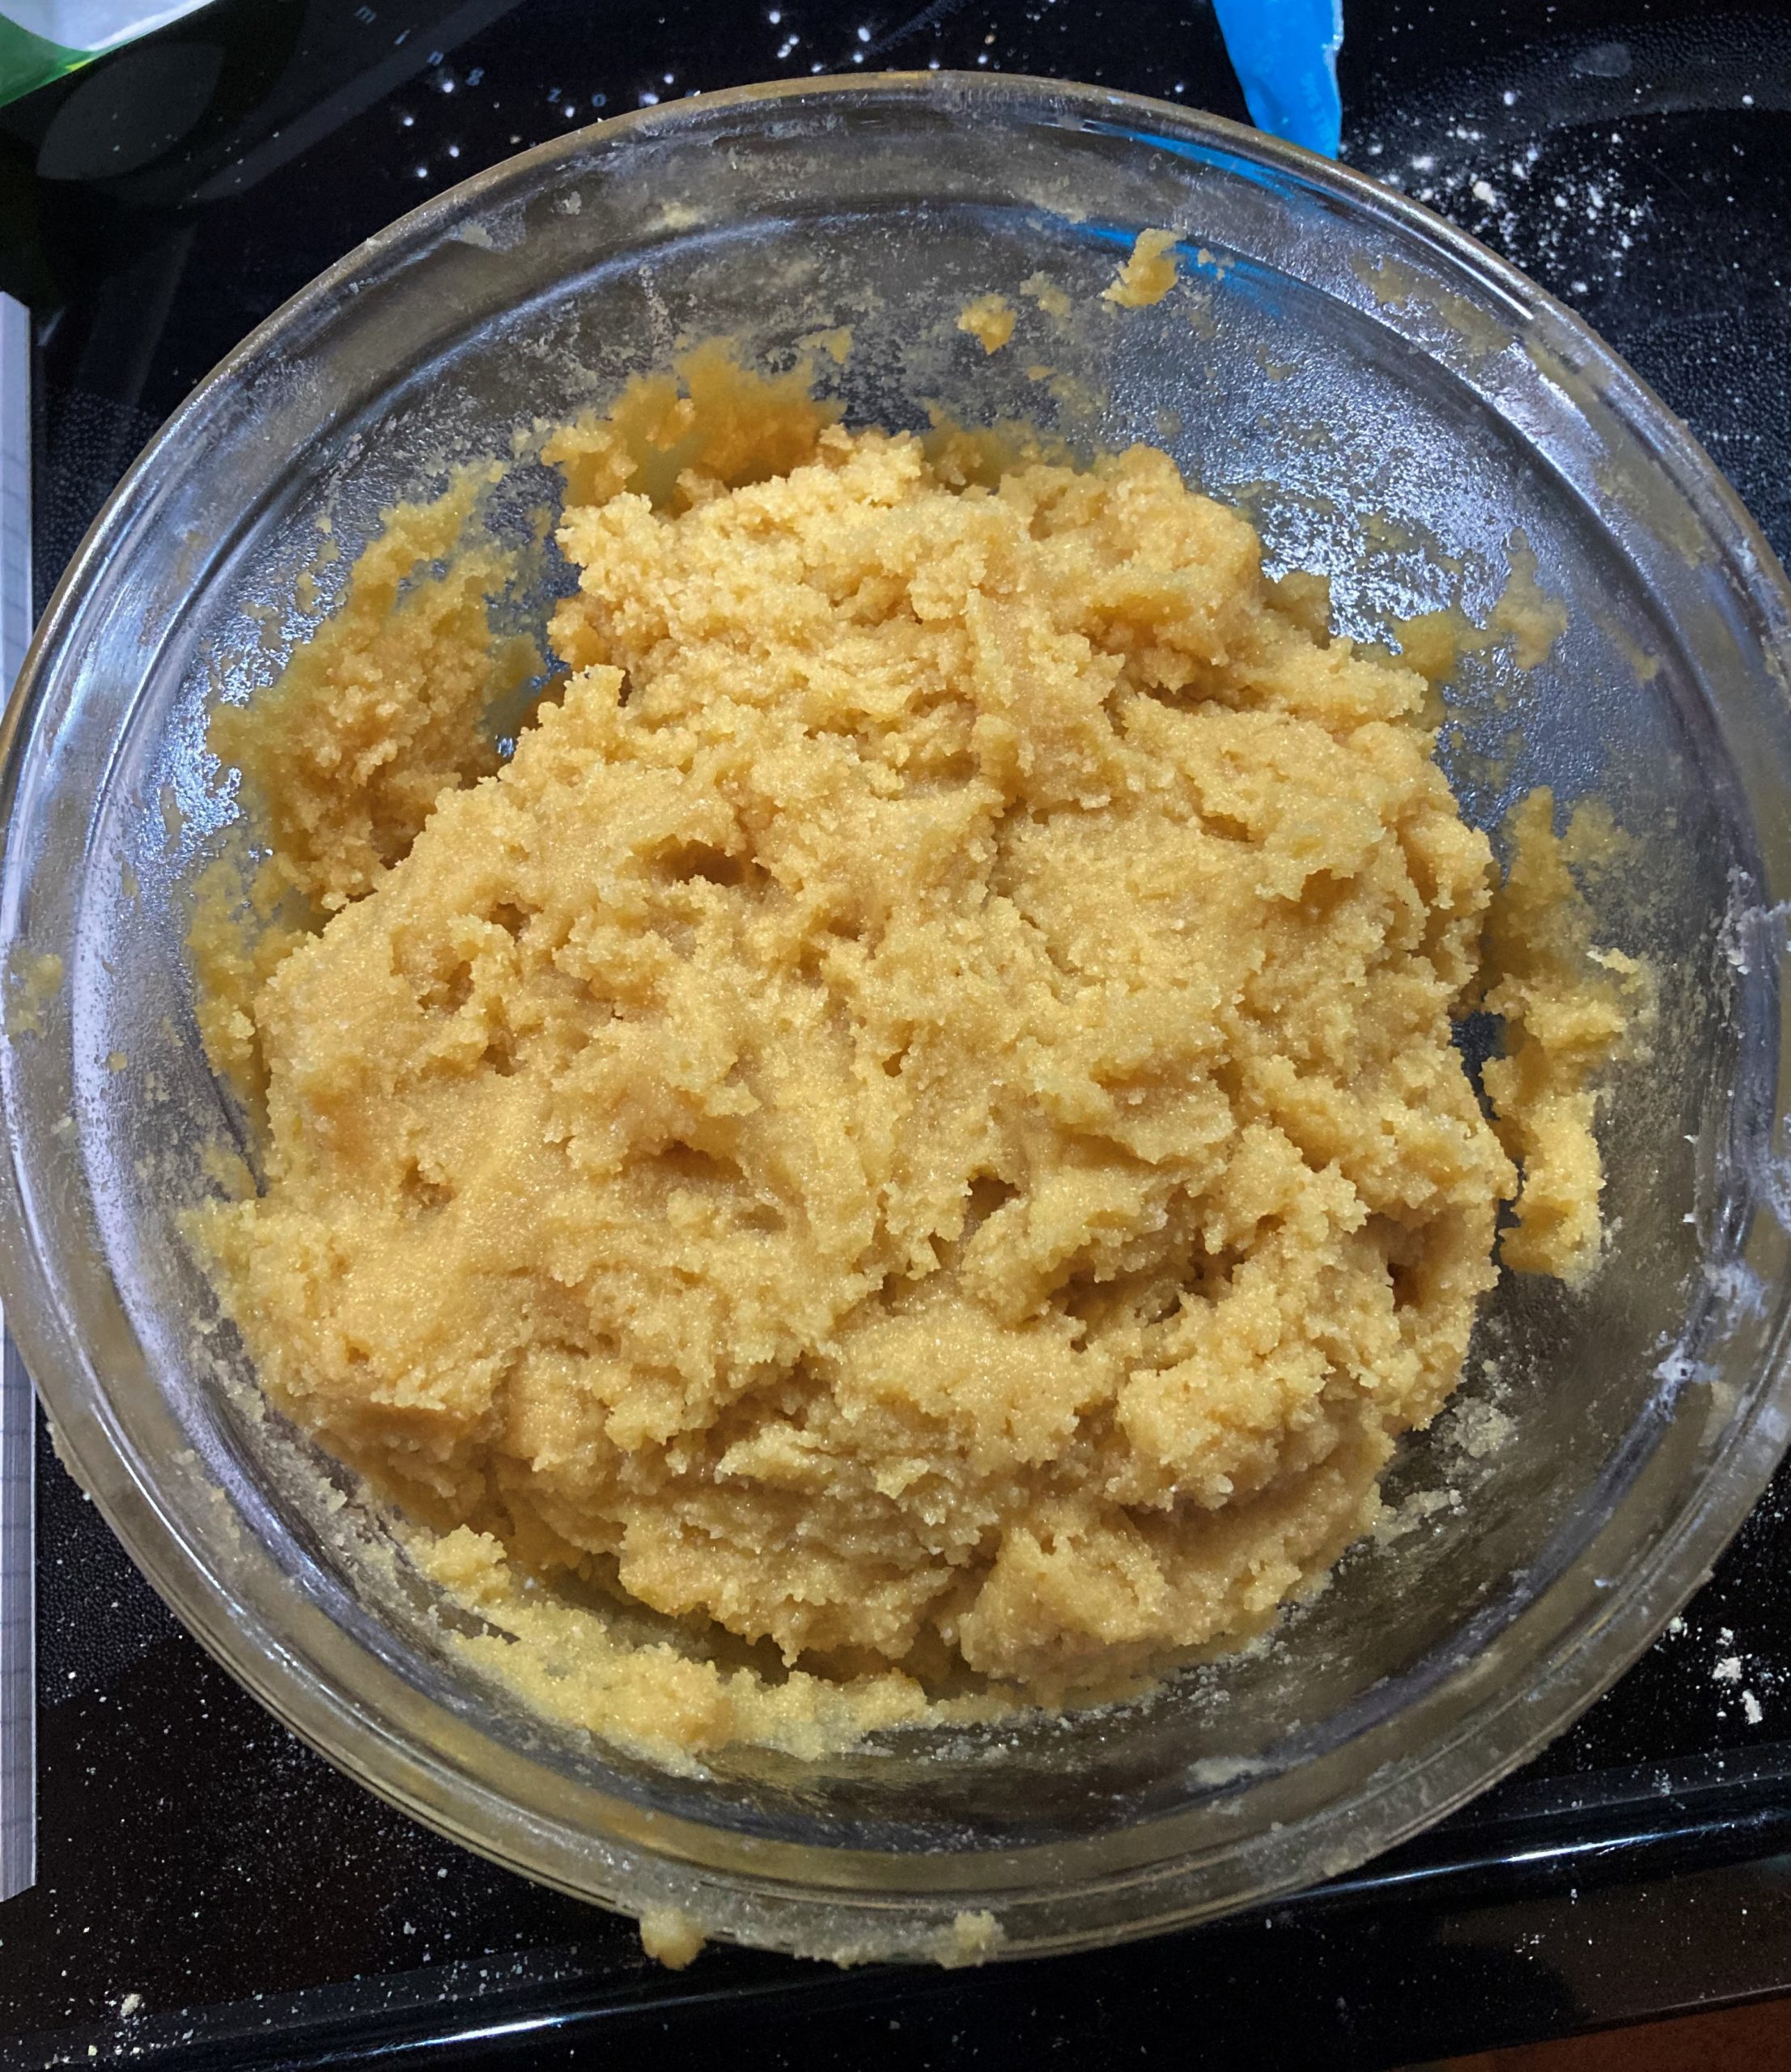
Add the almond flour to the bowl and mix.

-
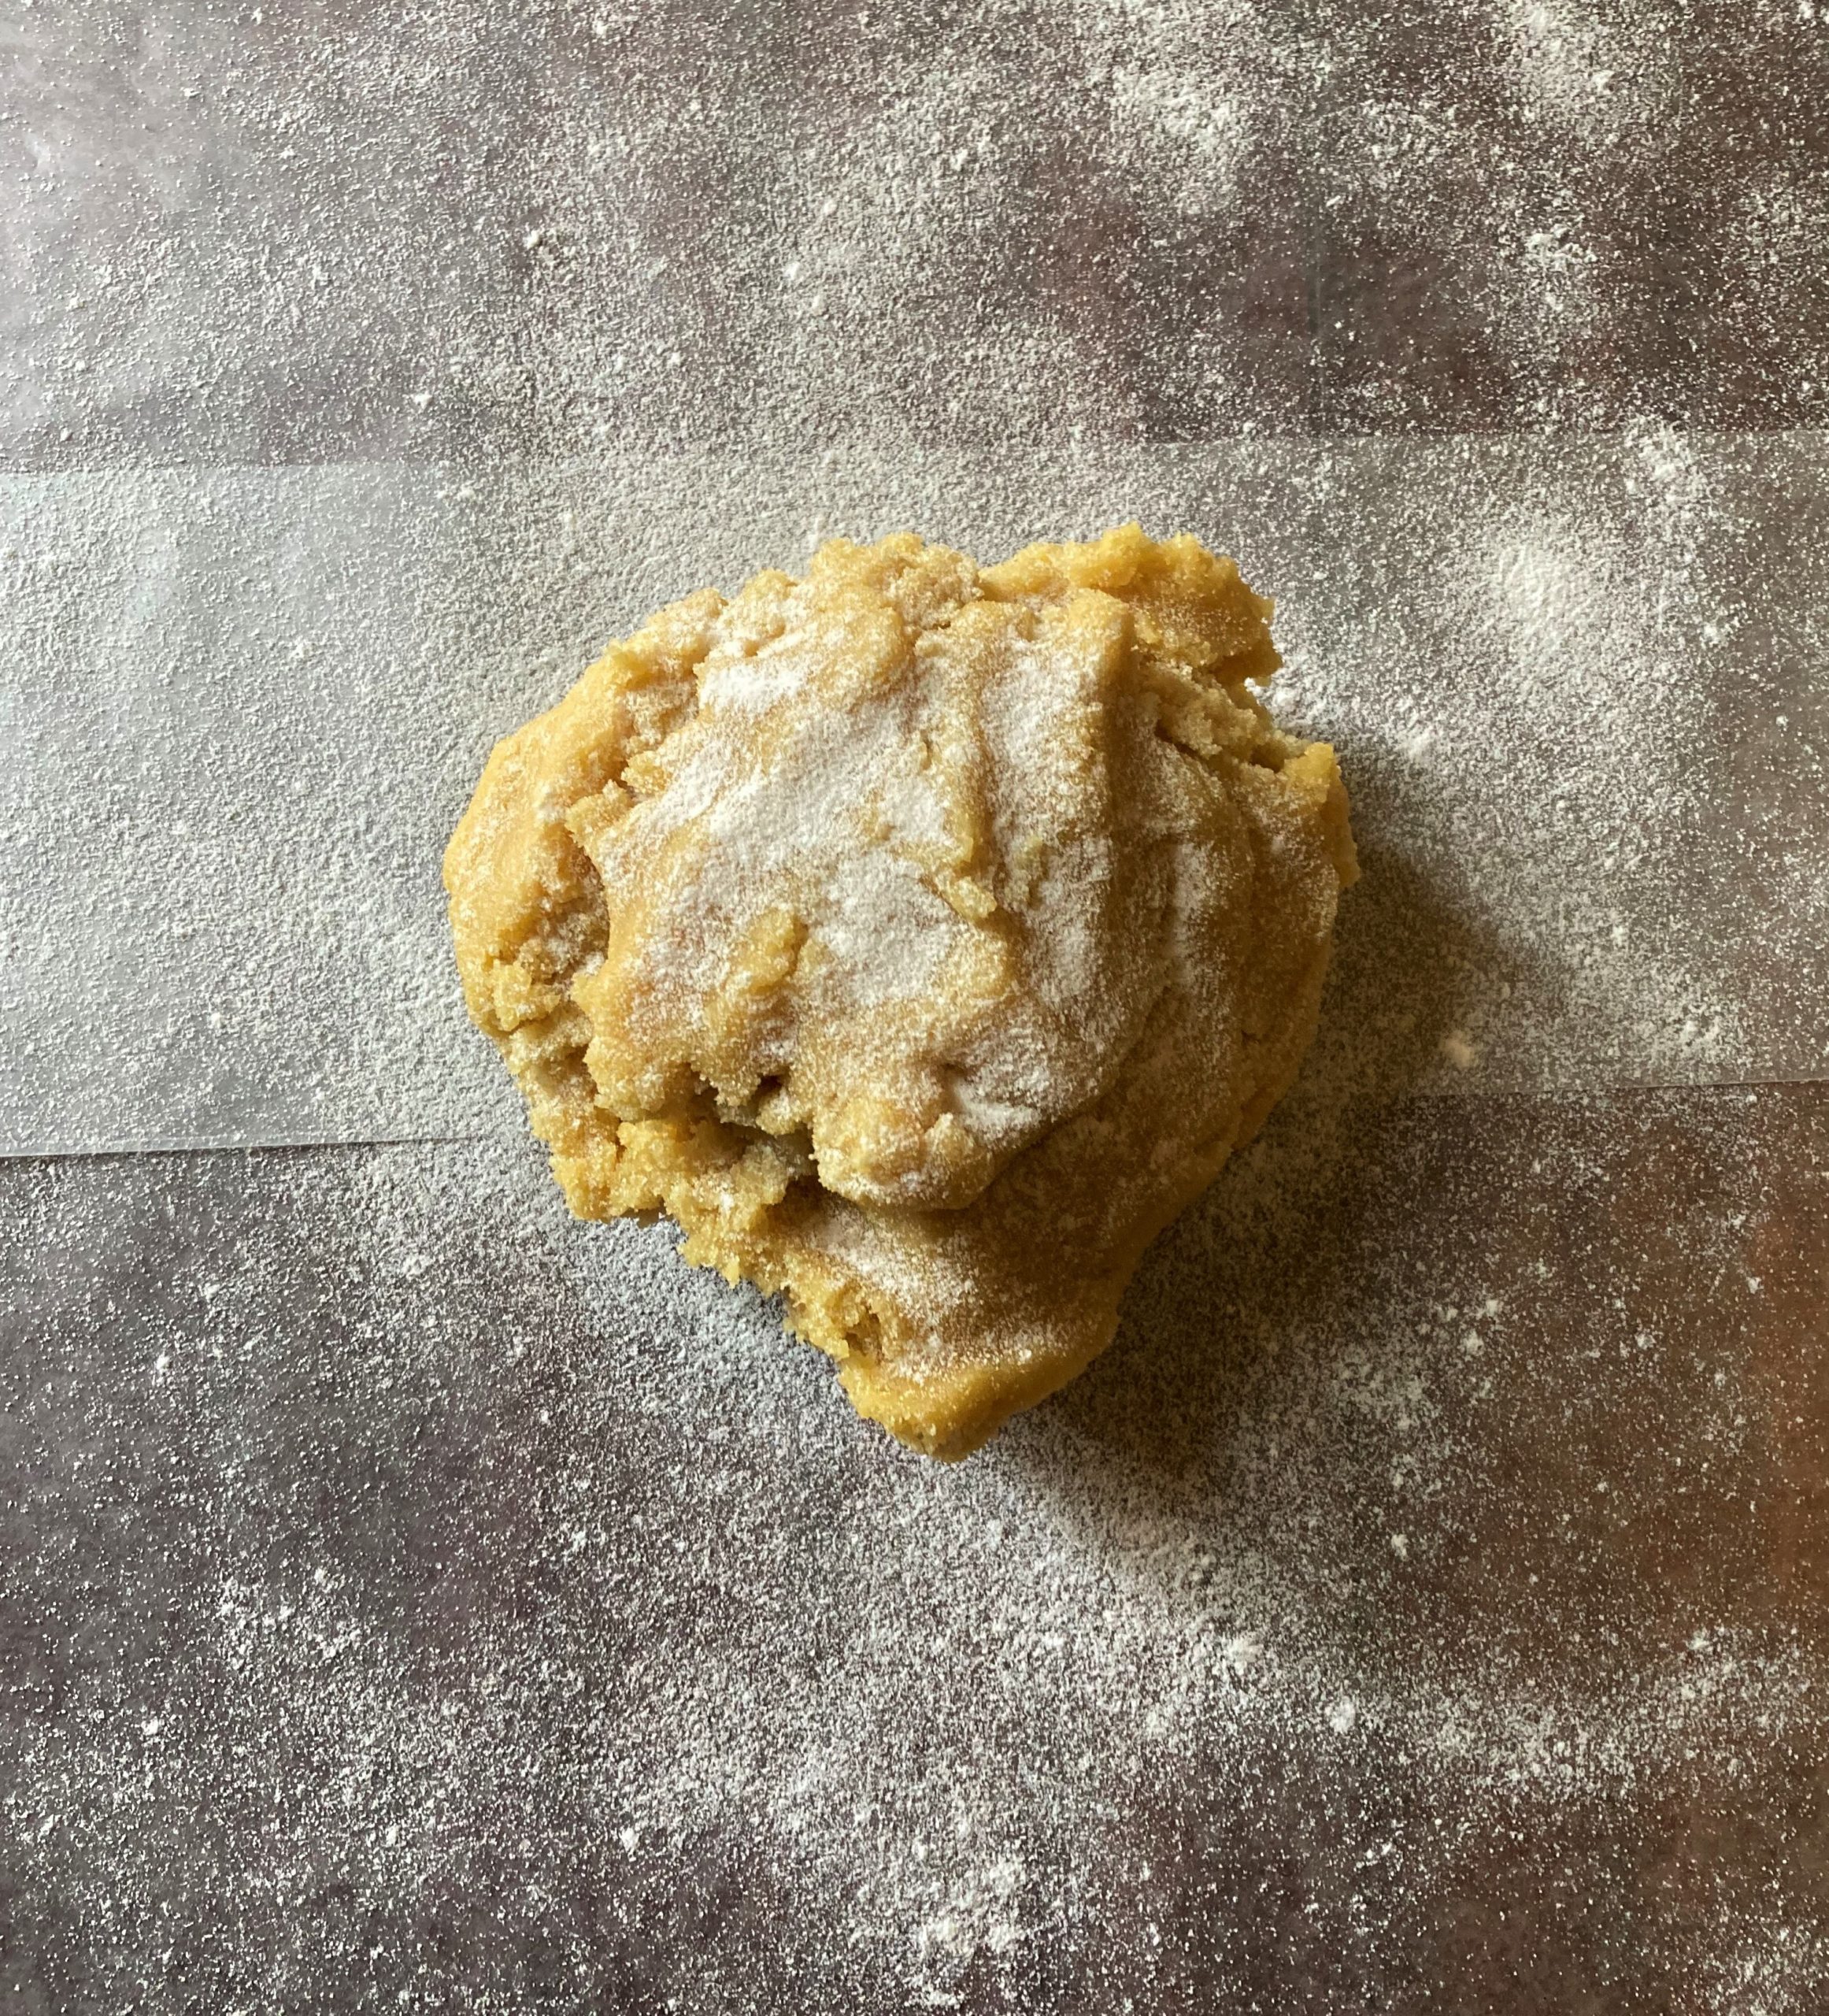
Add the rest of the flours, along with the baking powder, to the bowl and thoroughly combine. Toward the end, I like to just use my hands to mix it because it's easy. Don't worry about overworking the dough, since it's gluten-free it doesn't matter!
-
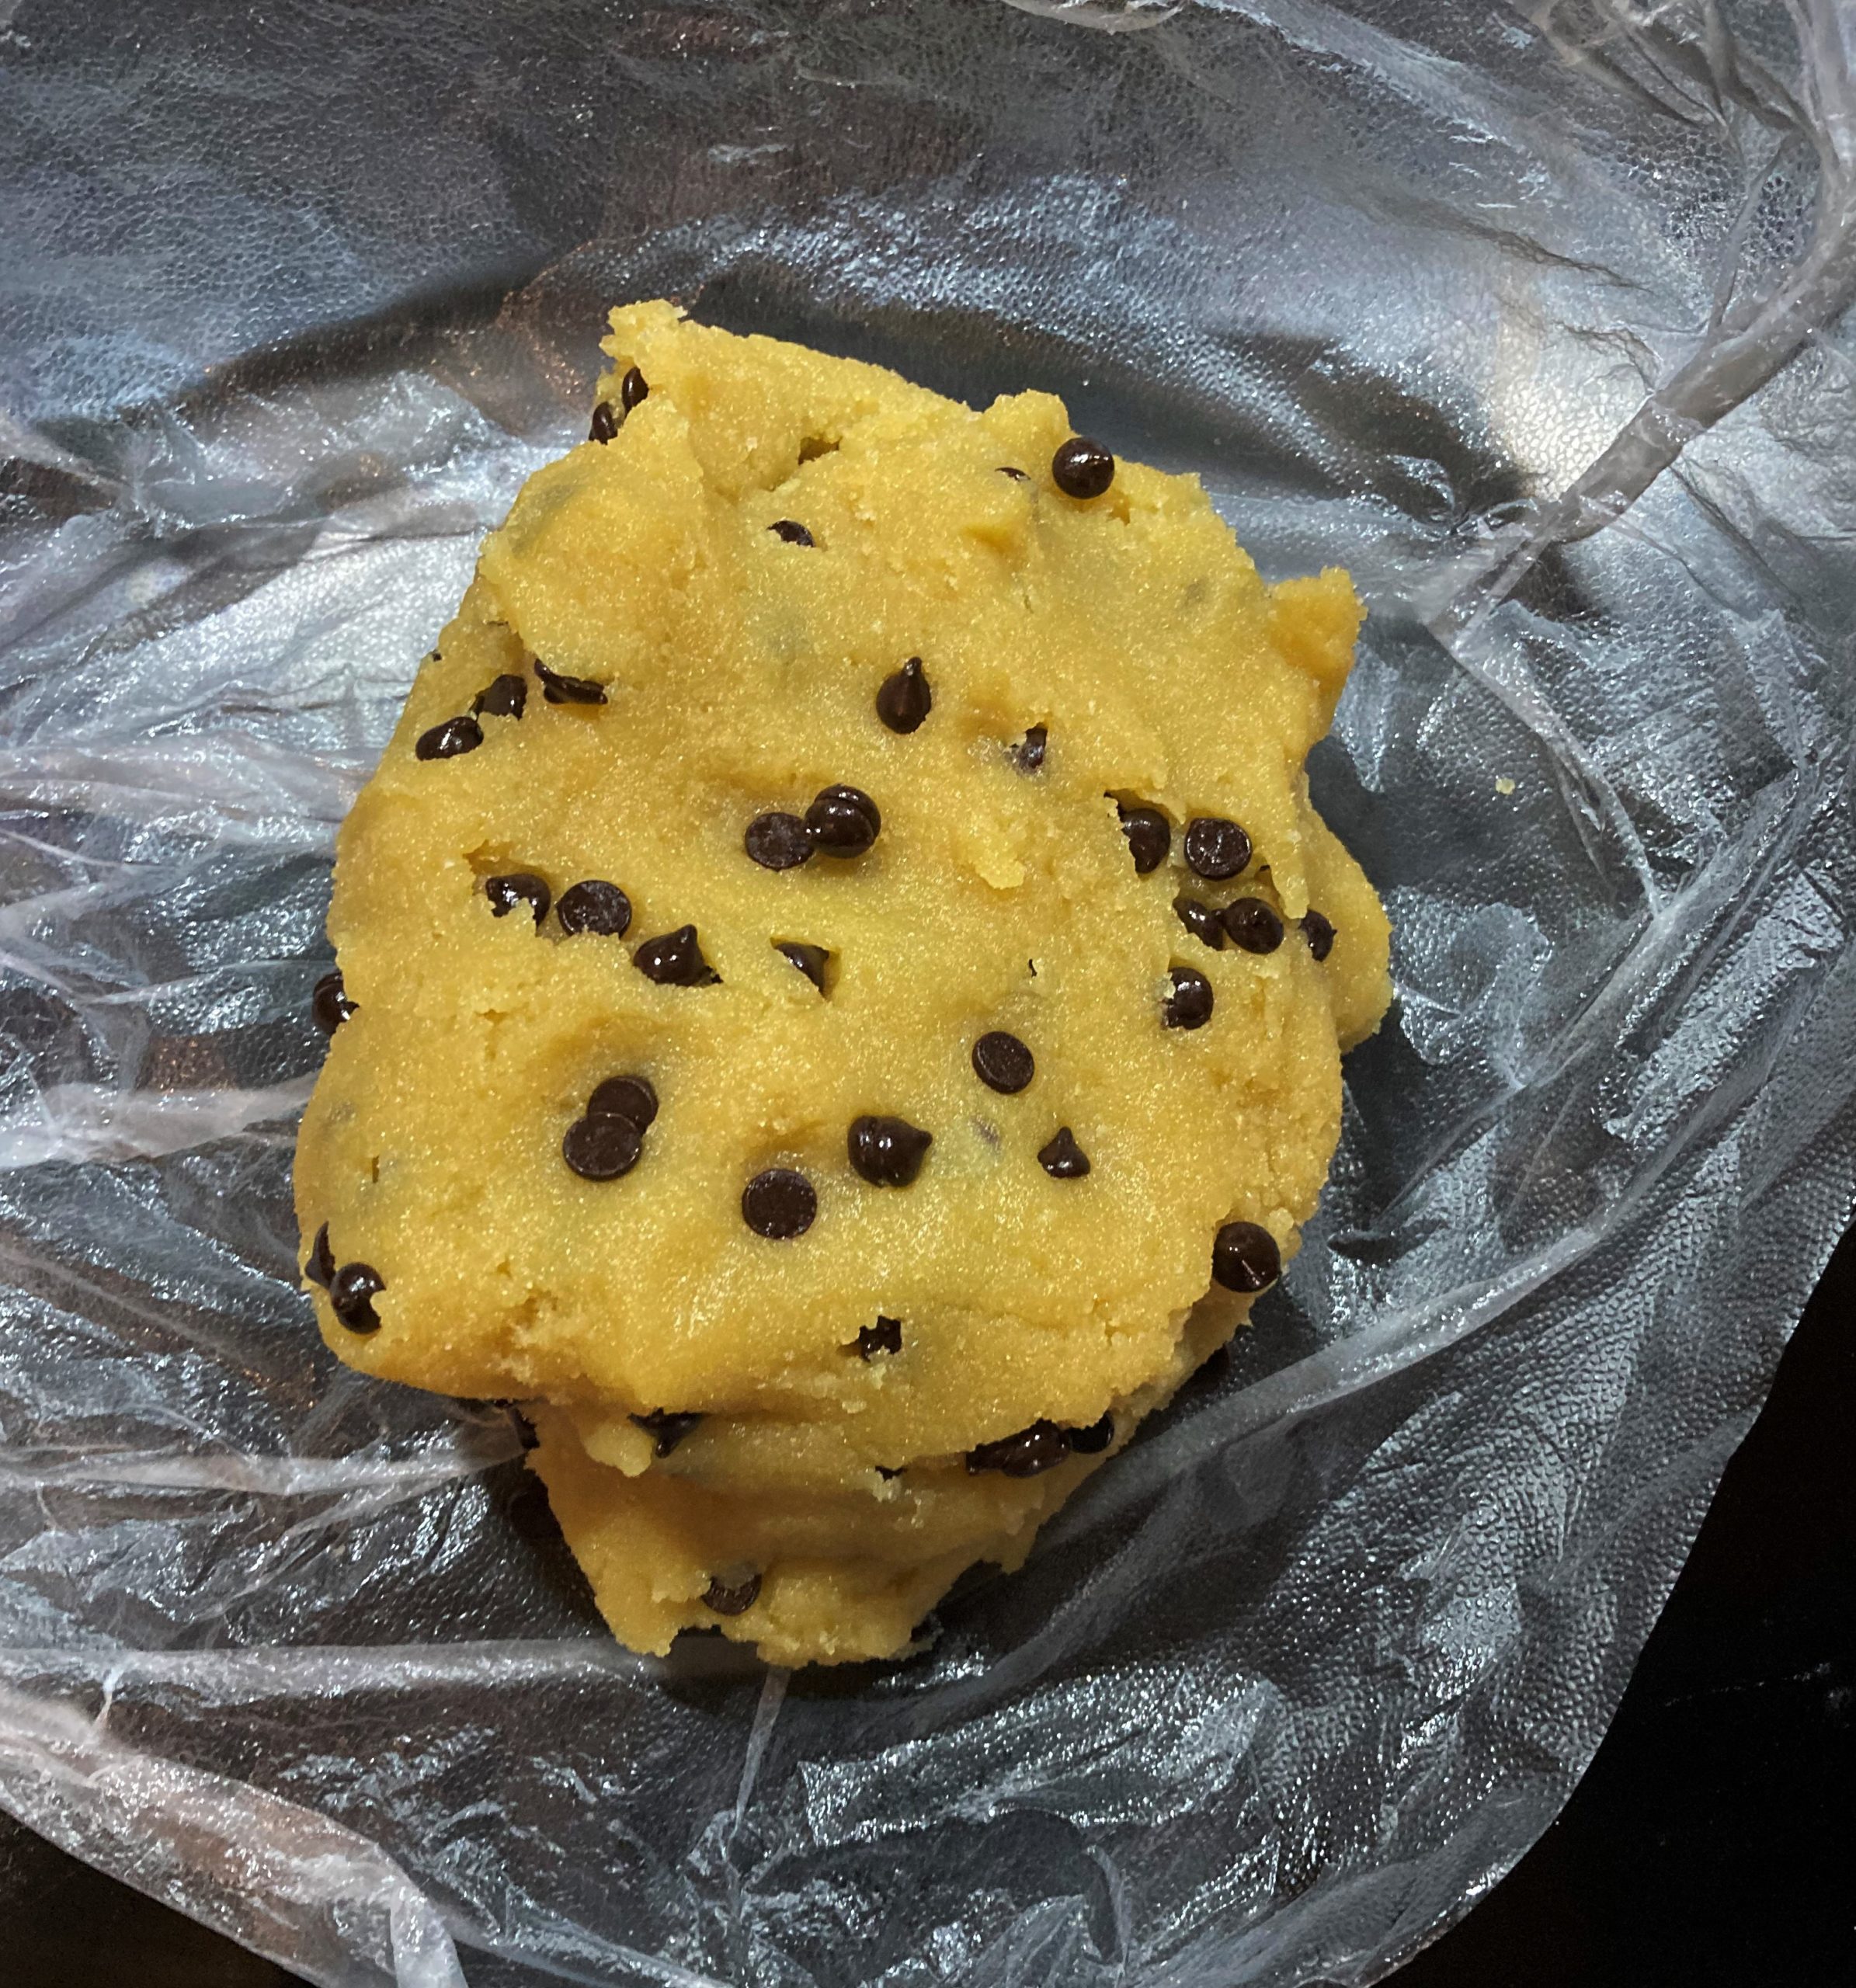
Cut the dough in half and wrap each half in plastic wrap and chill. Before wrapping would be a good time to add some mix-in to part of your dough if desired. Chocolate chips, candied fruit or ginger, etc. the world is your oyster.
-
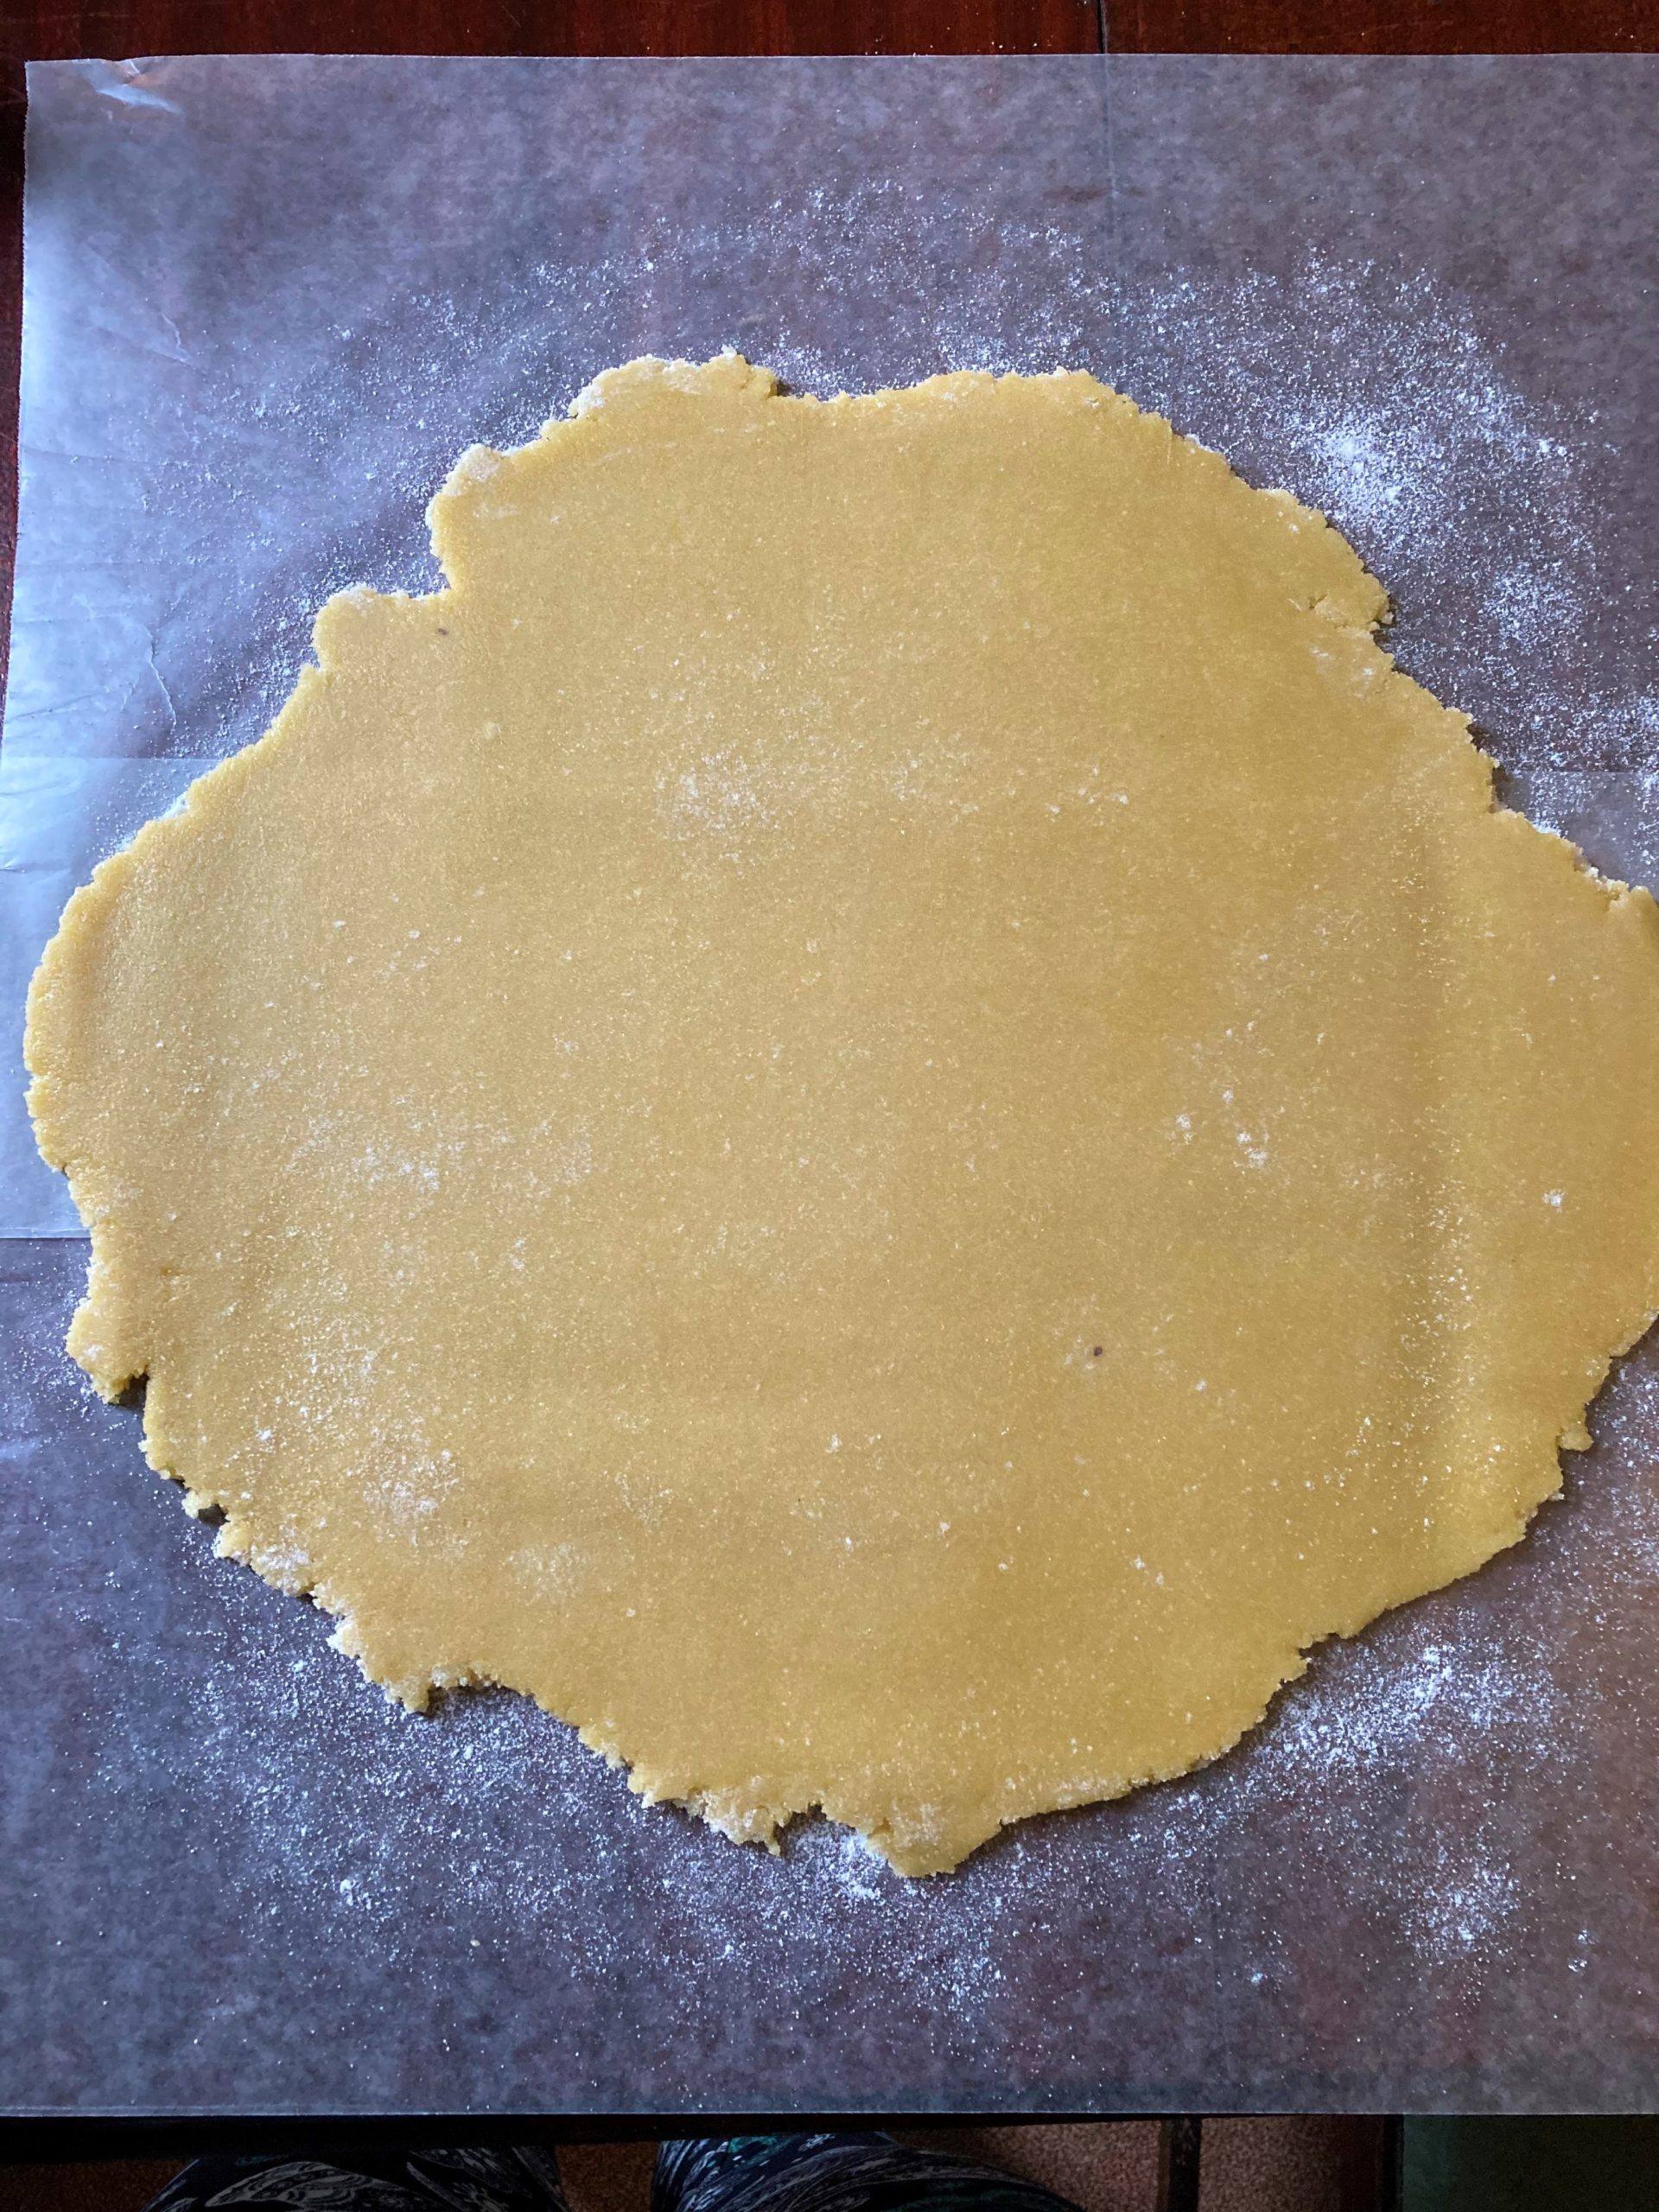
When the dough is chilled, take two pieces of wax paper or parchment paper and lay out on your counter. Sprinkle liberally with rice flour or almond flour.
-
Grease a large cookie sheet and preheat your oven to 350°F (177°C ).
-
Take half of the dough out of the fridge, unwrap it, and place it on the floured paper. Sprinkle the top liberally with flour.
-
Start rolling it out with a rolling pin (life pro tip: use a clean wine bottle if for some reason you don't have a rolling pin). Sprinkle more flour on the dough as needed, don't be shy with it. Roll it out as evenly as you can to about 1/8 of an inch thick (about 3 mm if you don't use freedom units).
-
Use your favorite cookie cutters to cut out the dough! Remember to be gentle. Place cut cookies onto your cookie sheet making sure they aren't touching.

-
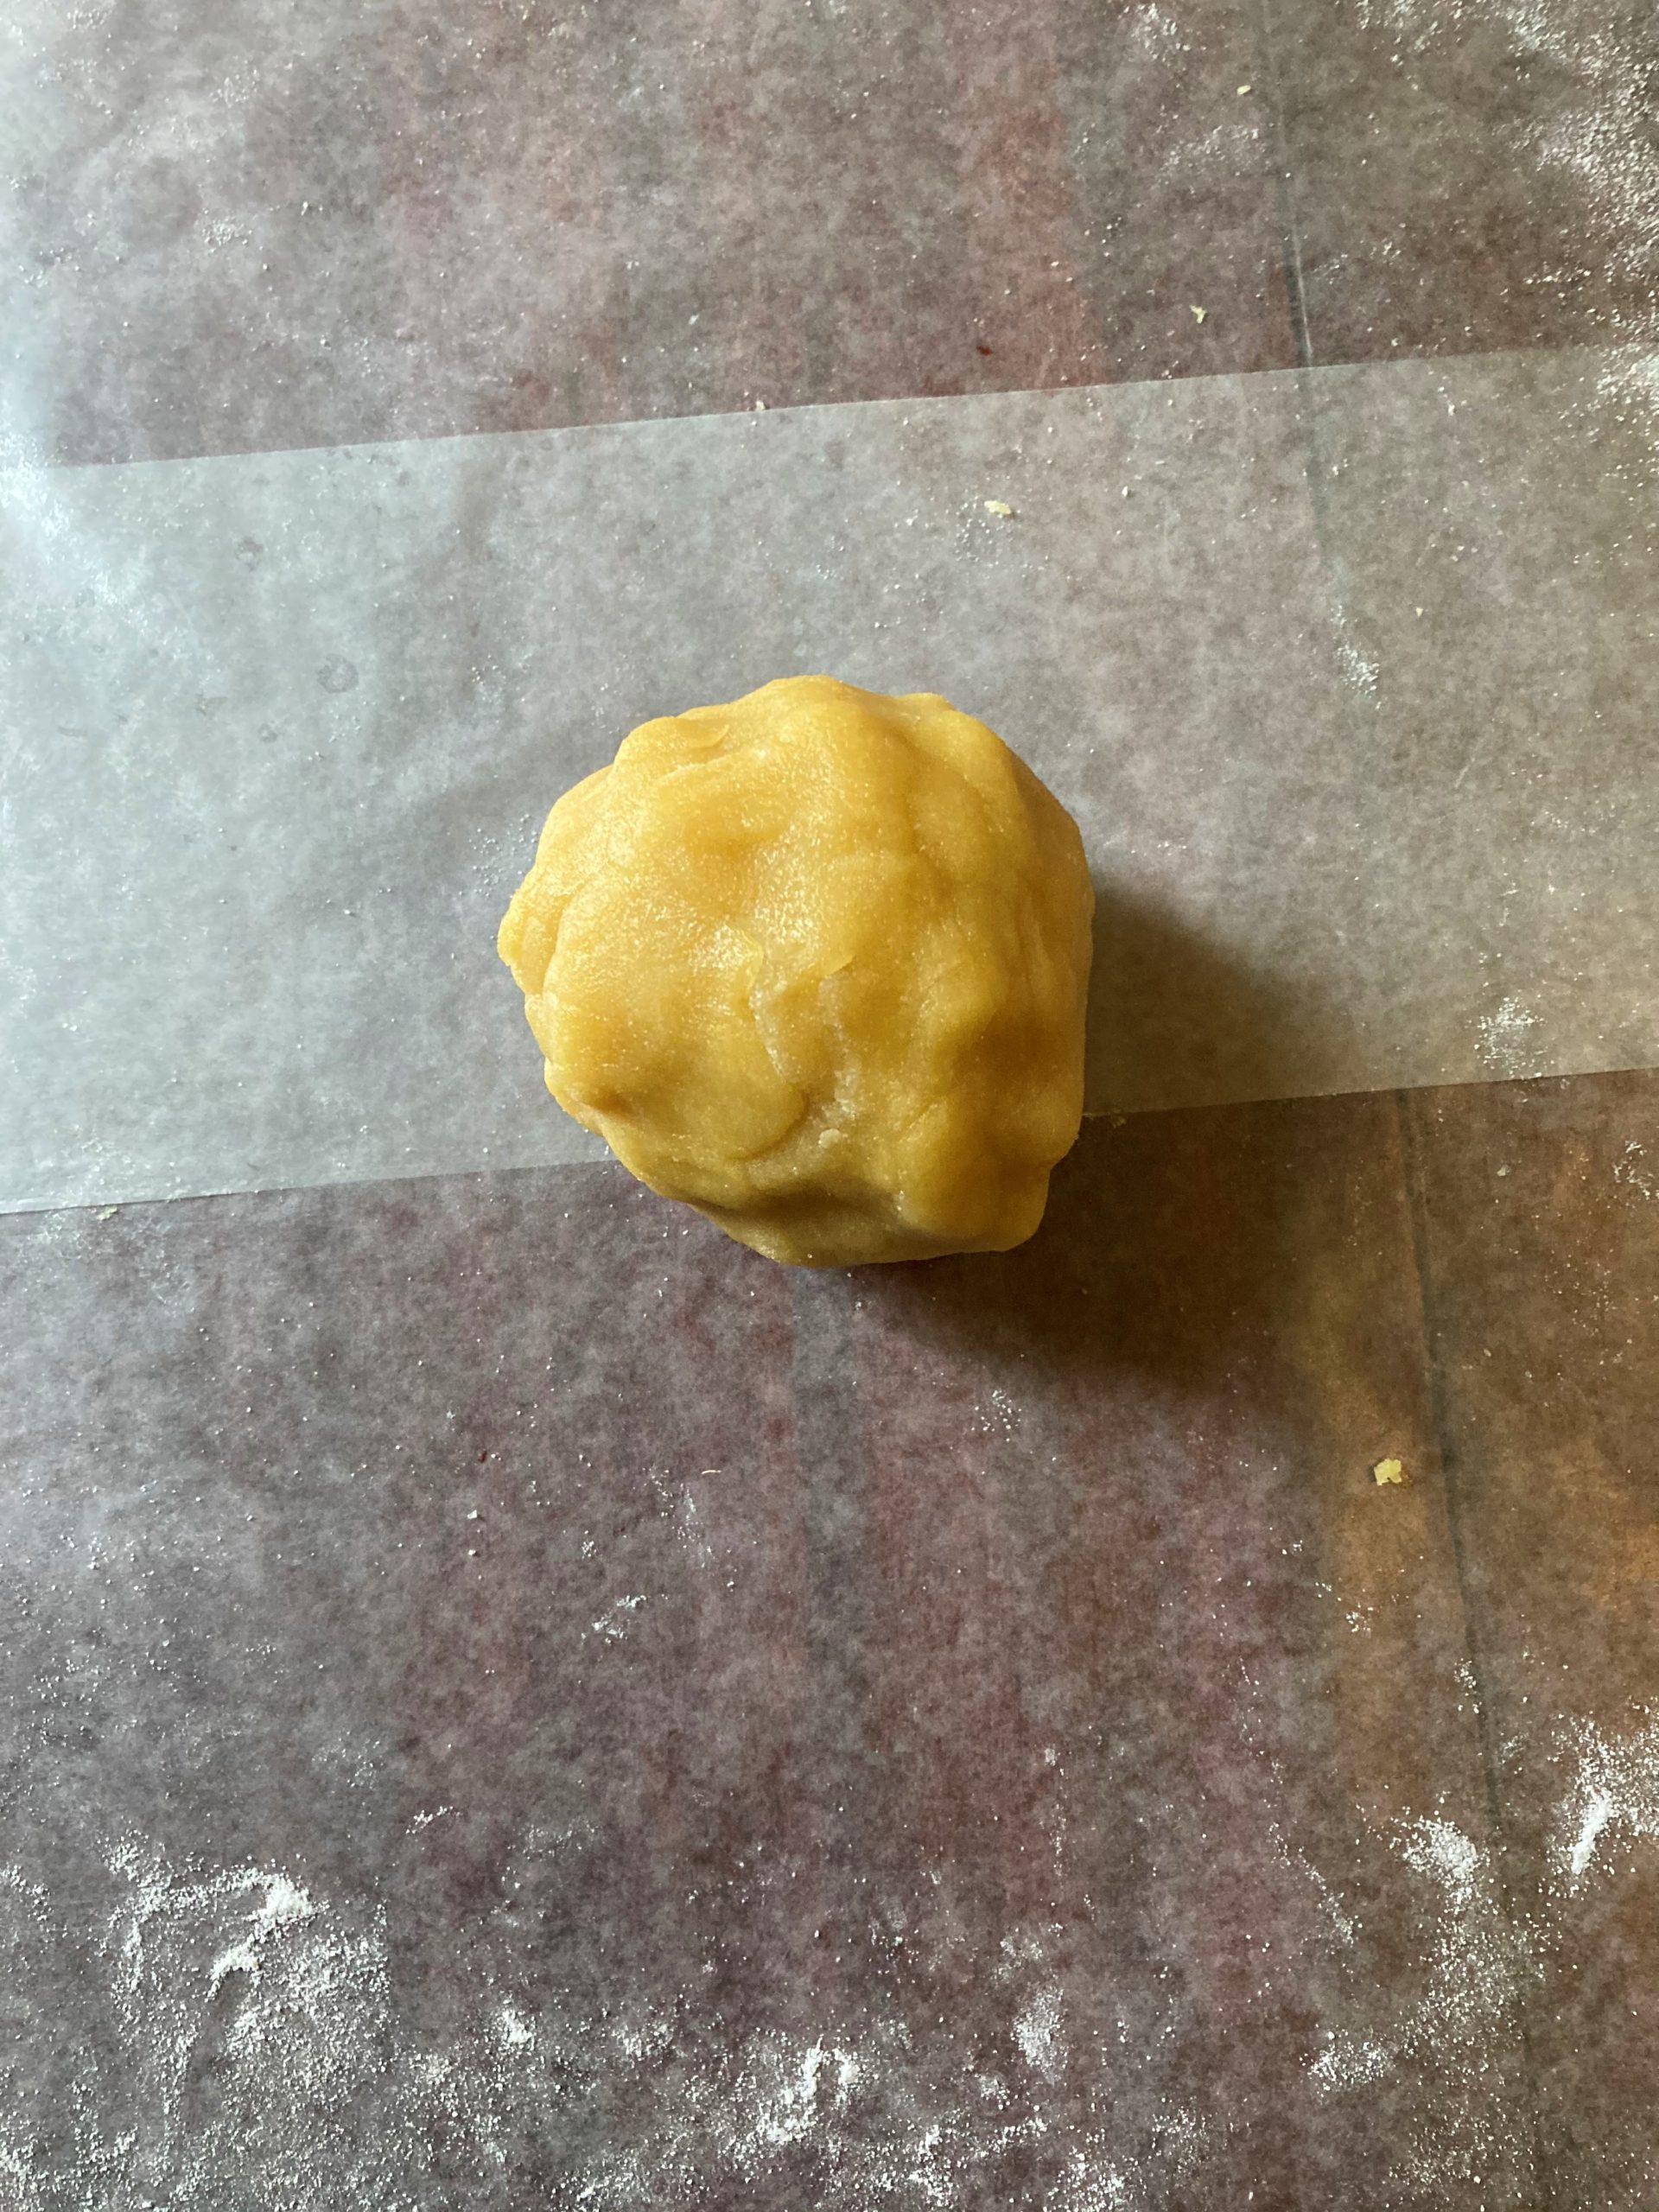
Take the dough leftover after cutting and roll it back into a ball. Cover and place back into the fridge.
-
Place the cookies in the oven and bake for about 12 minutes. They're done when golden brown around the edges. Let rest on the cookie sheet for a few minutes before transferring to a cooling rack or plate to cool.

-
Repeat steps 8 through 14 until you run out of dough. When previous cookies are cooled you can put them in Tupperware or a Ziploc bag until you're ready to ice them so they don't dry out.
-
When the last cookies come out of the oven (or the next day if you're tired after all that baking) it's time to make the icing! If using your own icing or frosting you can frost them whenever they're cooled.
-
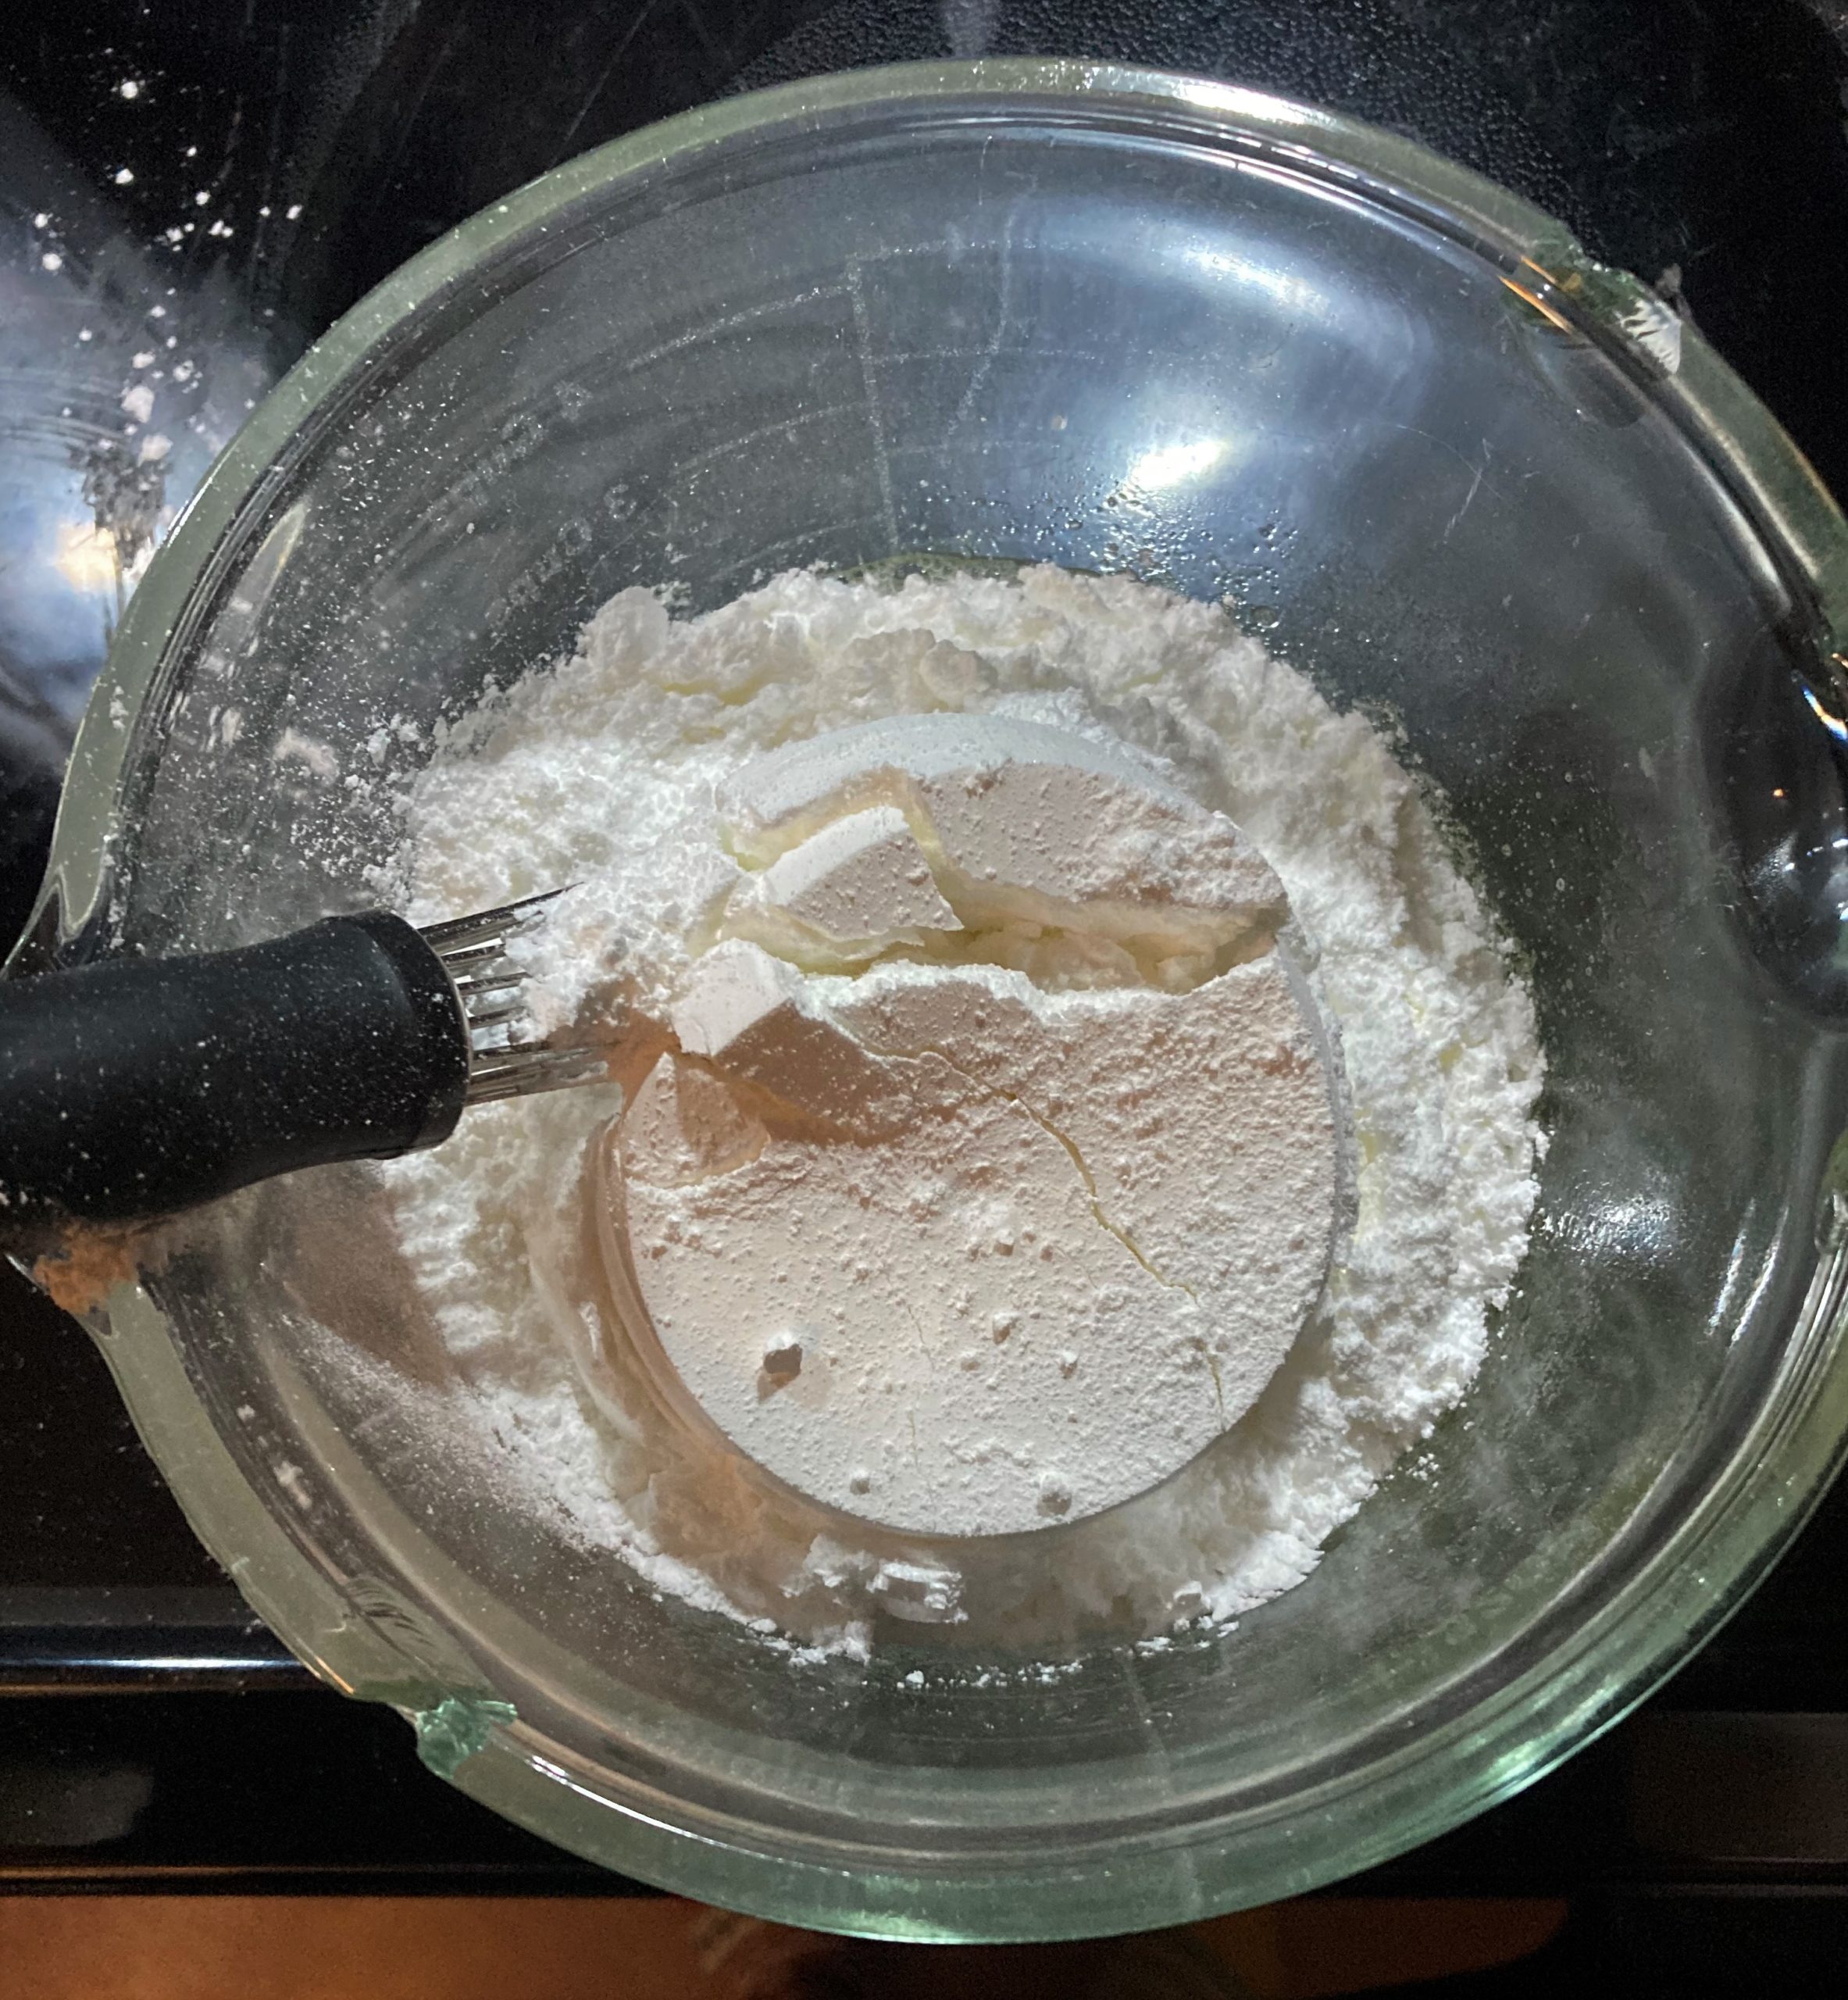
Put the allulose and the cornstarch into a blender and blend on high several times. You want to grind the allulose up as much as possible, but don't worry if there are still granules.
-
Add the allulose mixture to the egg whites you separated earlier in a medium bowl or large measuring cup. Also, add the vanilla extract.
-
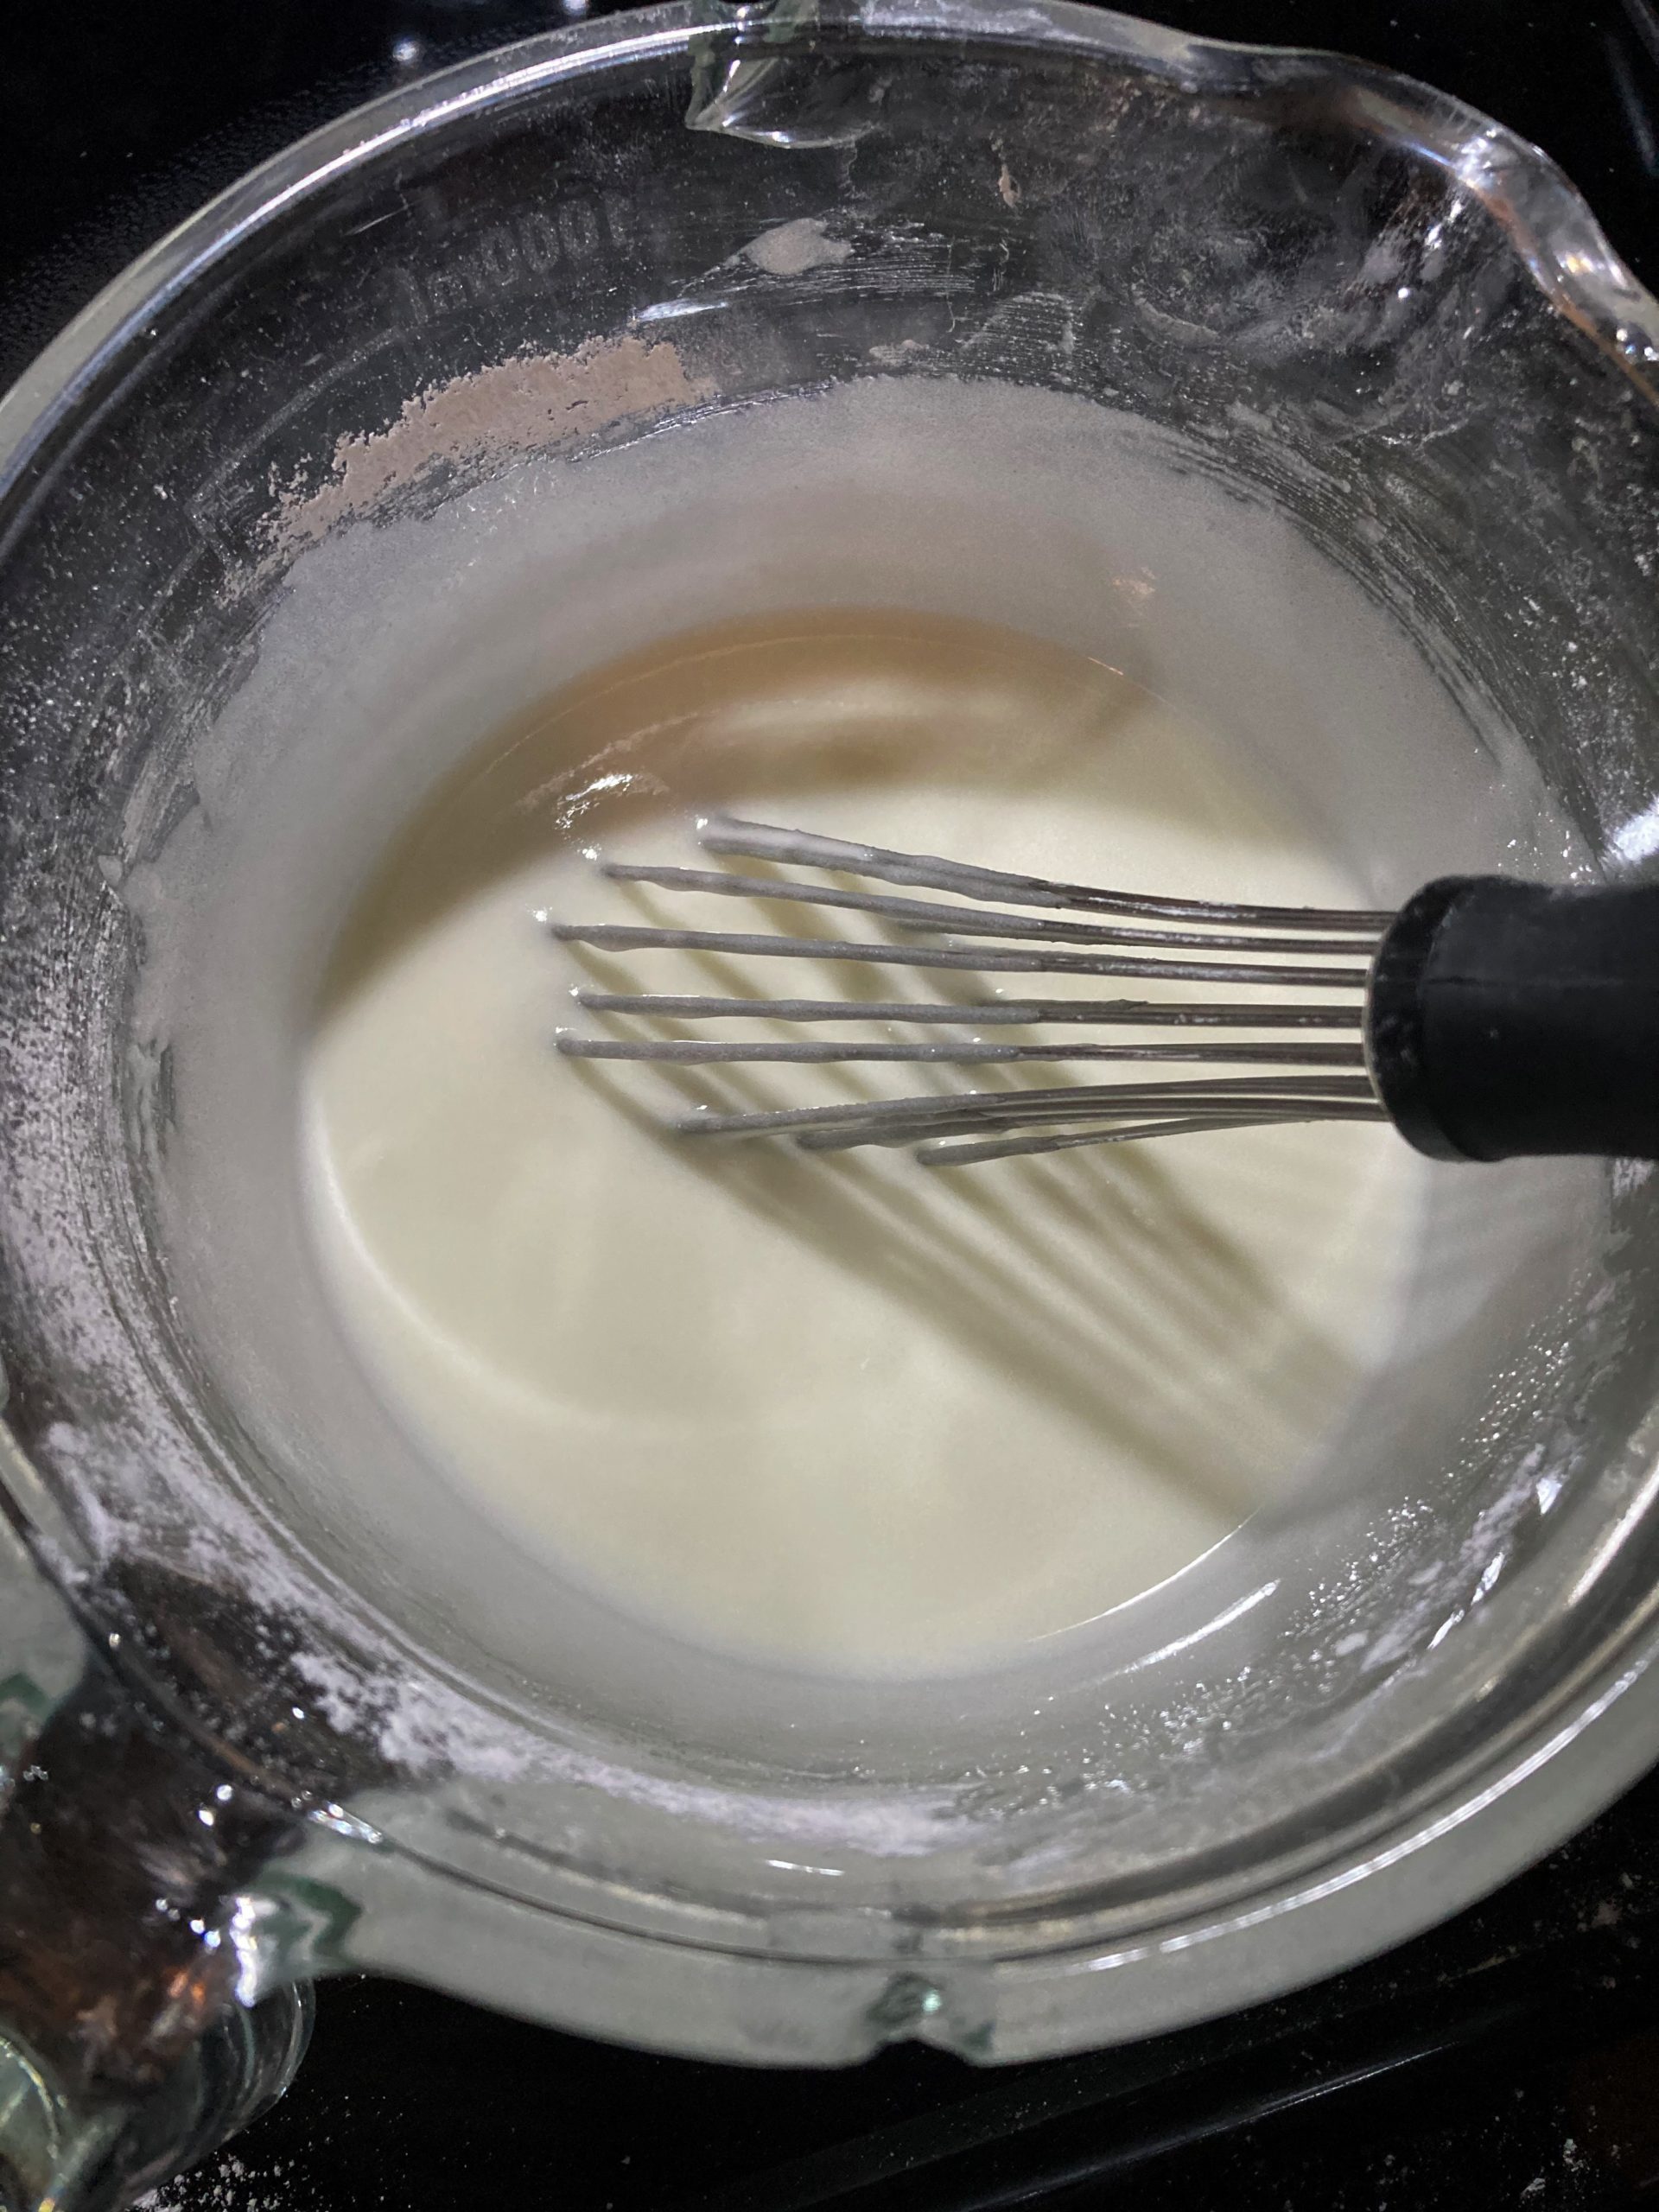
Whisk together for a few minutes. You can add a teeny bit of water if it's too thick. But, don't end up like me and accidentally make it too thin!
-
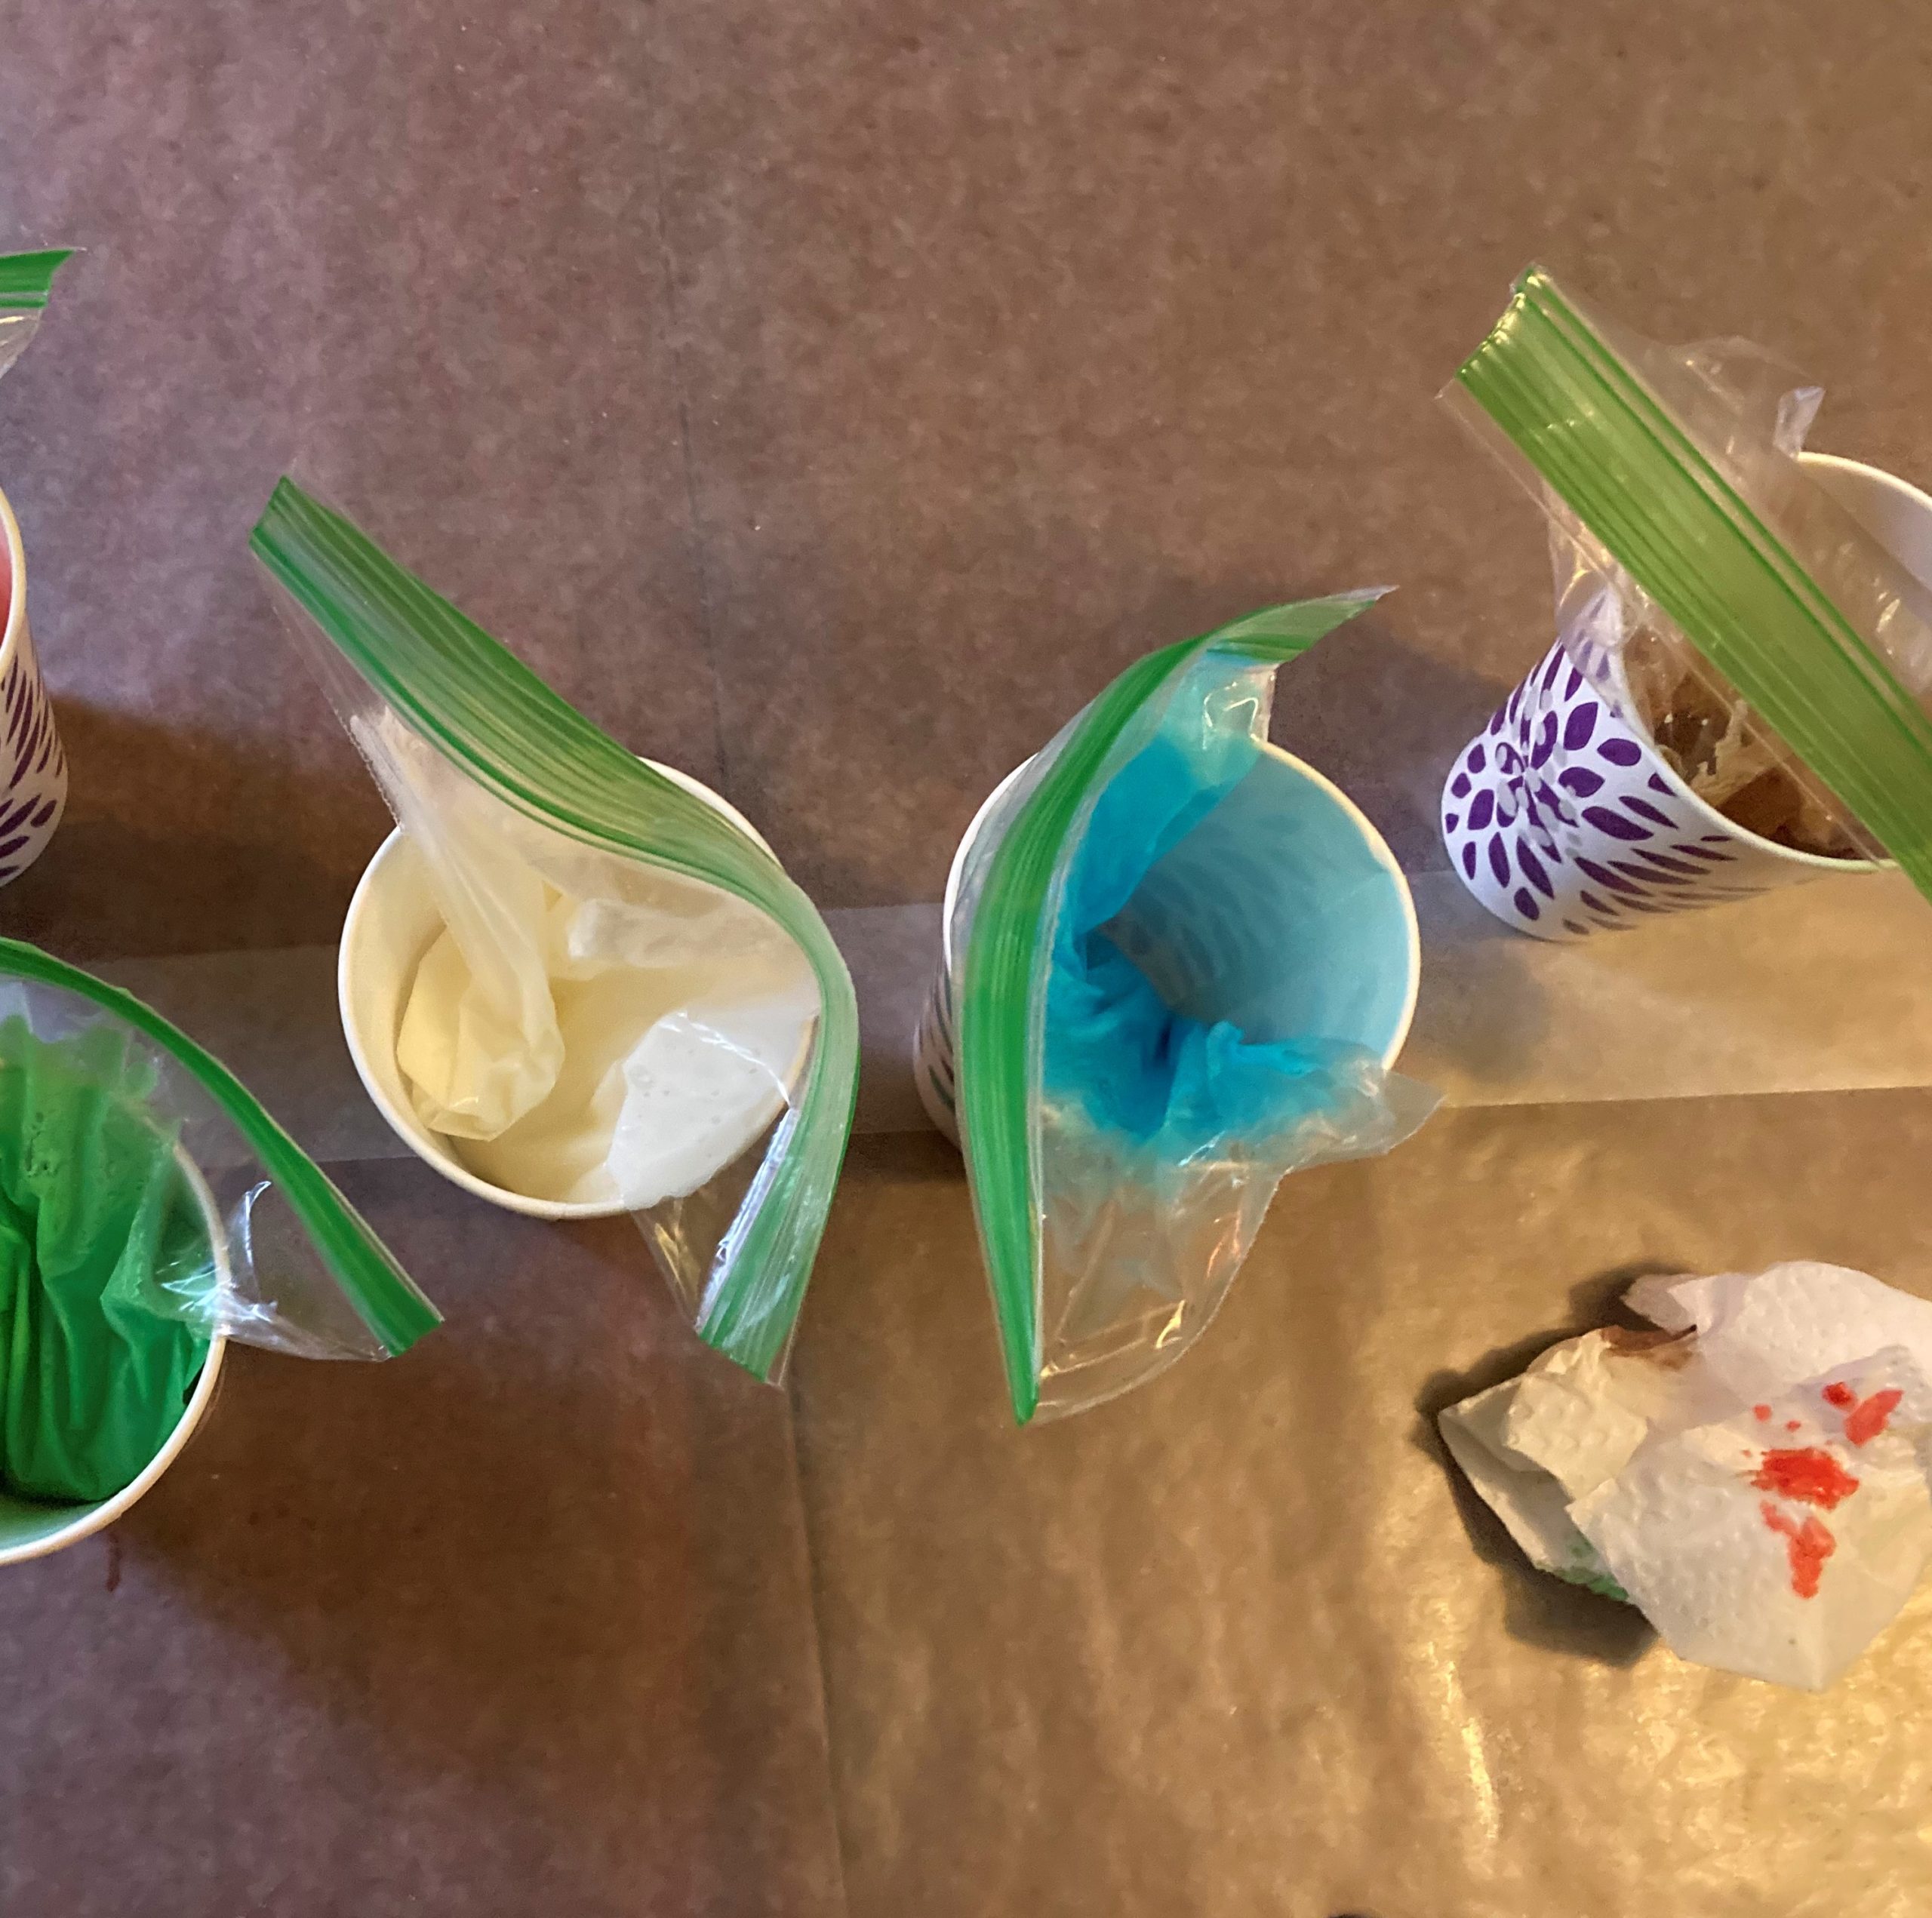
Add any coloring you want. I separated mine into different sandwich bags and cut off the very tip to make diy icing bags.
-
Ice your cookies! Have fun with it. After icing let the cookies sit out until the icing is at least mostly set before putting them away.

-
Enjoy!